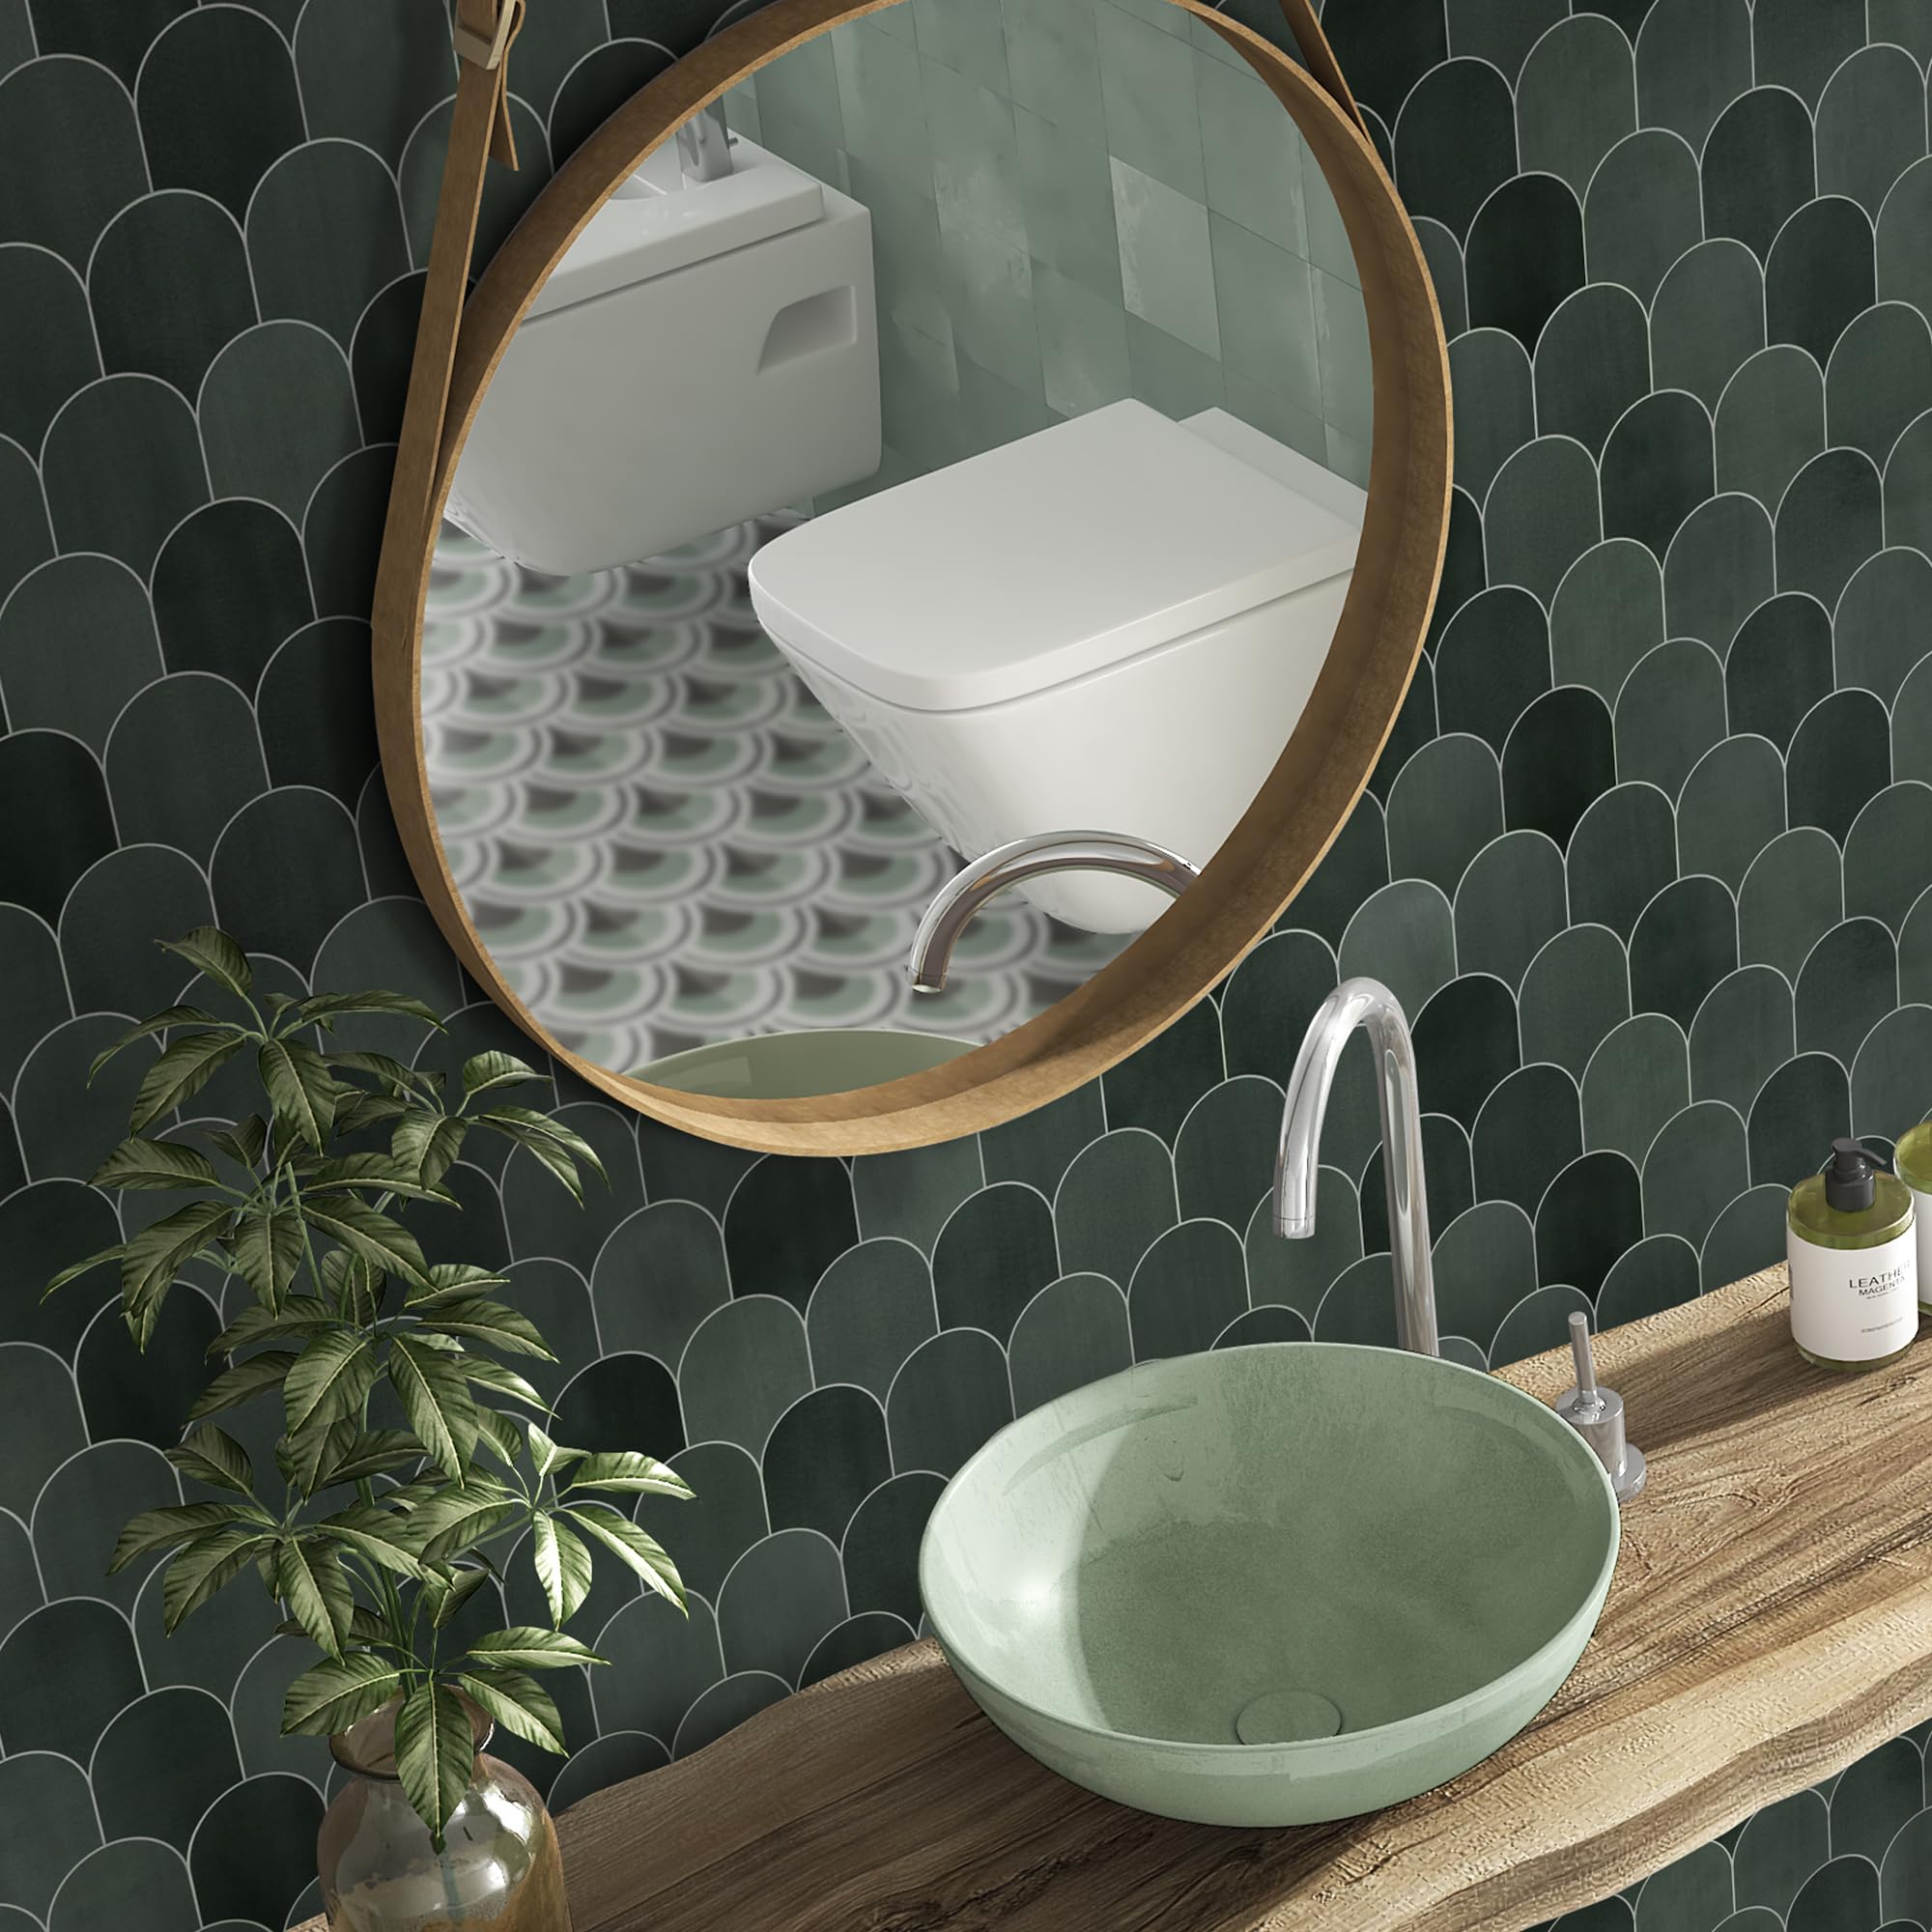
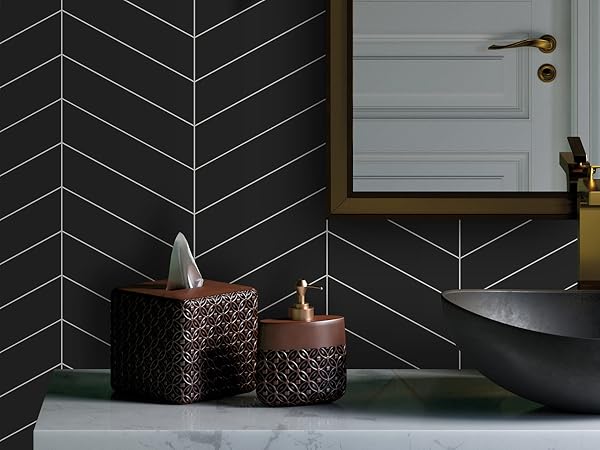
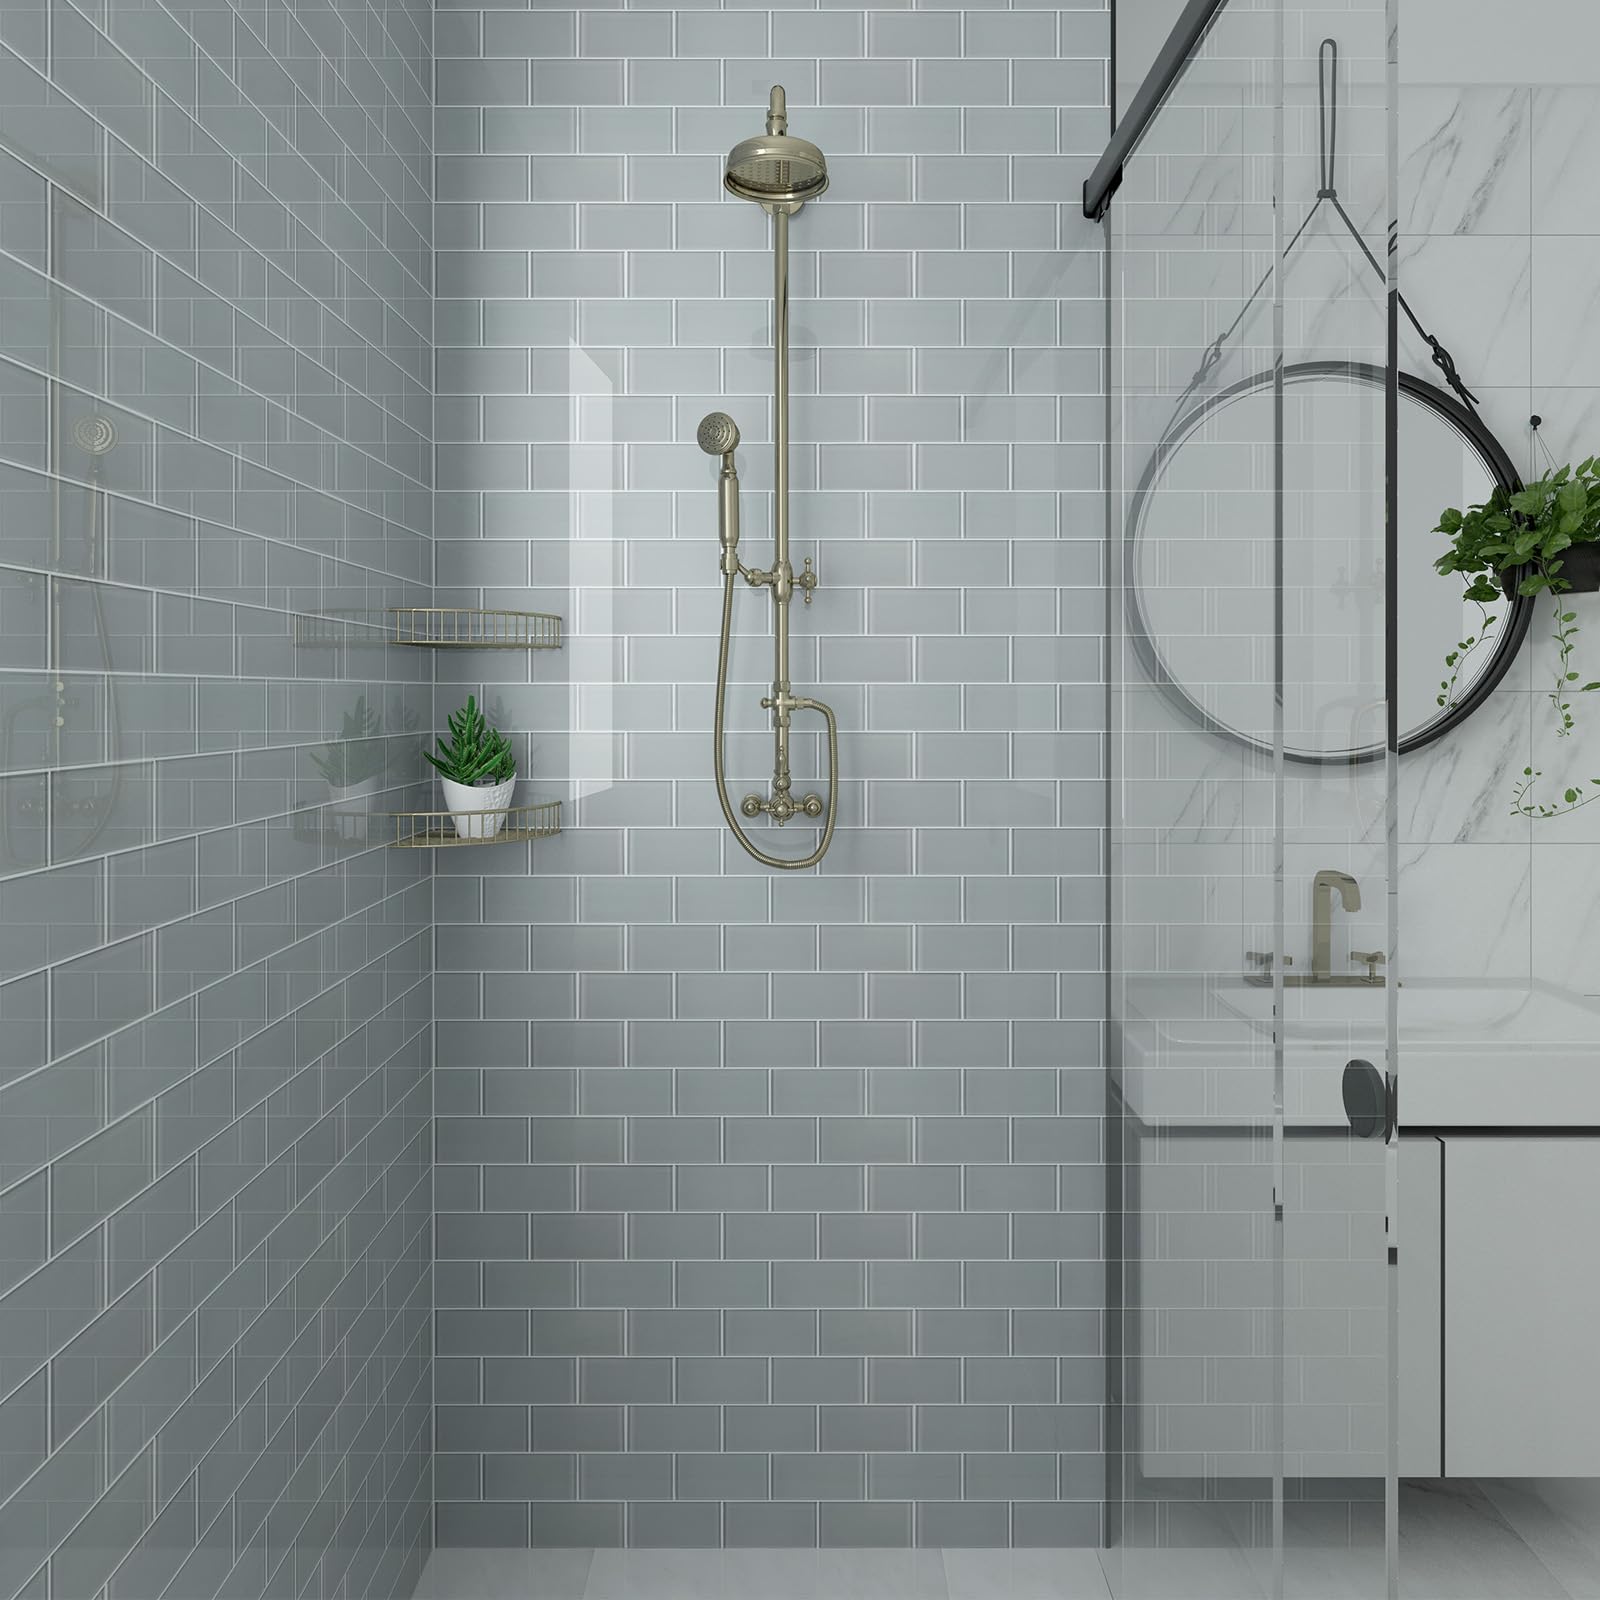
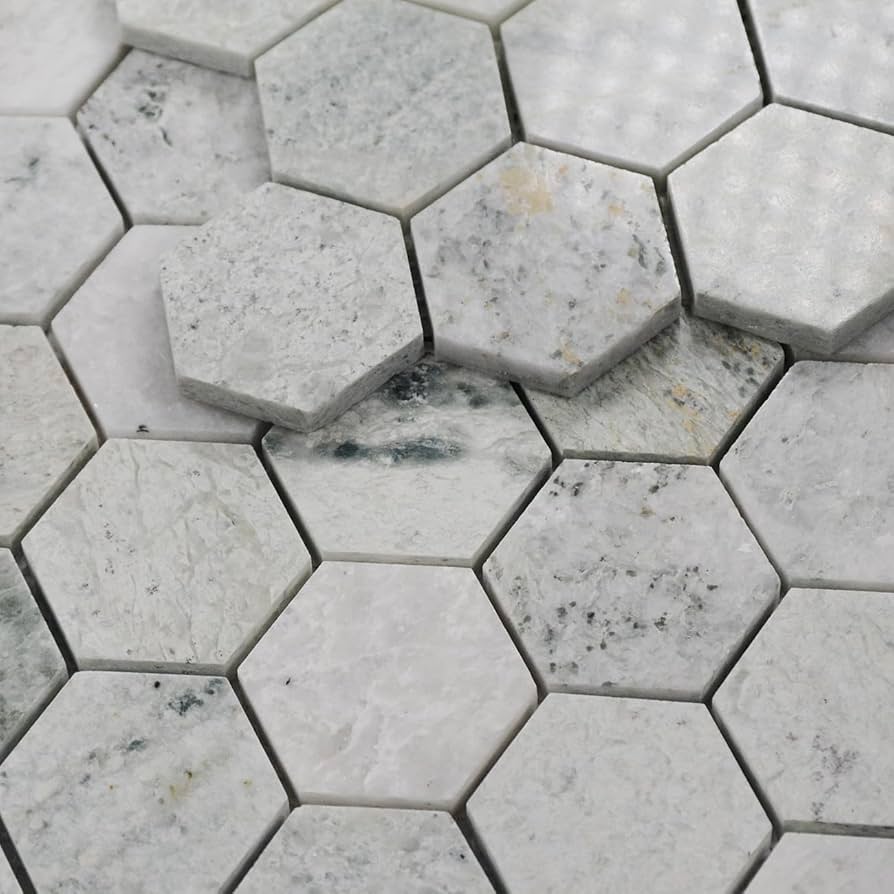
تبليط الدش
مقدمة في تبليط الدش
تبليط الدش يشمل عدة خطوات رئيسية، من اختيار المواد الصحيحة إلى تطبيق البلاط وضمان ختمها جيدًا ضد الرطوبة. بالنسبة للكثيرين، قد يبدو الأمر معقدًا، مما يدفع المرء للتساؤل: هل تبليط الدش صعب؟ بينما يتطلب تبليط الدش اهتمامًا دقيقًا بالتفاصيل، فإن مستوى الصعوبة الفعلي يمكن أن يختلف بناءً على خبرتك في مشاريع DIY وتعقيد تصميم الدش لديك. إحدى الأسئلة الأولى التي قد تواجهها هي ما الذي أحتاجه لتبليط الدش؟ فهم المواد اللازمة لتبليط الدش أمر بالغ الأهمية. ستحتاج إلى مختلف الإمدادات مثل البلاط، الجص، مجرفة، وقاطع بلاط. تلعب كل مادة دورًا حيويًا في ضمان متانة وجودة جمالية لدشك. بينما تبدأ في هذا المشروع، قد تتساءل أيضًا كيفية تبليط الدش خطوة بخطوة وتبحث عن إرشادات حول خطوات تبليط الدش. سواء كنت تقوم بتركيب بلاط جدار الدش، بلاط أرضية الدش، أو تهدف إلى إنشاء دش للمشي أنيق، فإن كل خطوة من الإعداد إلى اللمسات الأخيرة تسContributing to the success of the project. التعامل مع هذه الاستفسارات الأولية يؤسس لتركيب ناجح، مما يضمن أن عملية تبليط الدش، سواء كانت عبارة عن مقصورة دش قياسية أو دش للمشي فاخر، يمكن إكمالها بكفاءة وفعالية.تقييم صعوبة تبليط الدش
فهم التحديات
عند التفكير في مشروع تحسين المنزل مثل تبليط الدش، يسأل العديد من أصحاب المنازل، “هل تبليط الدش صعب؟” و“مدى صعوبة تبليط جدار الدش؟” الحقيقة هي أن الصعوبة يمكن أن تختلف بشكل كبير اعتمادًا على تعقيد المشروع ومستوى مهارات DIY لديك.العوامل الرئيسية التي تؤثر على الصعوبة
-
- تعقيد تصميم الدش
-
- li>تبليط مقصورة الدش القياسية عمومًا أقل تحديًا من دش المشي بسبب الهيكل البسيط وعدد أقل من الزوايا والأركان.
-
- تعقيد تصميم الدش
- li style=”list-style-type: none;”>
- نوع البلاط المستخدم
- li style=”list-style-type: none;”>
- li>اختيار بلاط الدش، مثل السيراميك، البورسلين، أو الحجر، يمكن أن يؤثر على عملية القطع والتركيب. بعض المواد أصعب في القطع والتركيب من غيرها، مما يؤثر على الصعوبة العامة.
- li style=”list-style-type: none;”>
- التحضير المطلوب
- li style=”list-style-type: none;”>
- li>التحضير المناسب للأسطح أمر بالغ الأهمية وقد يستغرق وقتًا طويلاً. يتضمن ذلك التأكد من أن الجدران مستوية وأن بلاط جدران الدش له دعم مقاوم للماء صلب. قد يجعل التحضير الضعيف عملية التبليط أكثر تحديًا وعرضة للأخطاء.
- li style=”list-style-type: none;”>
- الأدوات والمواد
- li style=”list-style-type: none;”>
- li>امتلاك المواد اللازمة لتبليط الدش ومعرفة كيفية استخدامها أمر ضروري. بالنسبة للمبتدئين، قد يضيف فهم كيفية استخدام أدوات مثل قواطع البلاط والمجارف إلى منحنى التعلم.
Shower Tile Top Deals
تخطيط تركيب البلاط
تصور التصميم
قبل أن تبدأ بوضع أي بلاط، من الضروري جداً أن تخطط لترتيبك بعناية. هذه الخطوة تضمن أن النتيجة النهائية لـالدش تبدو متوازنة واحترافية مع تقليل الفاقد والقطع غير الضرورية.اختيار البلاط المناسب
-
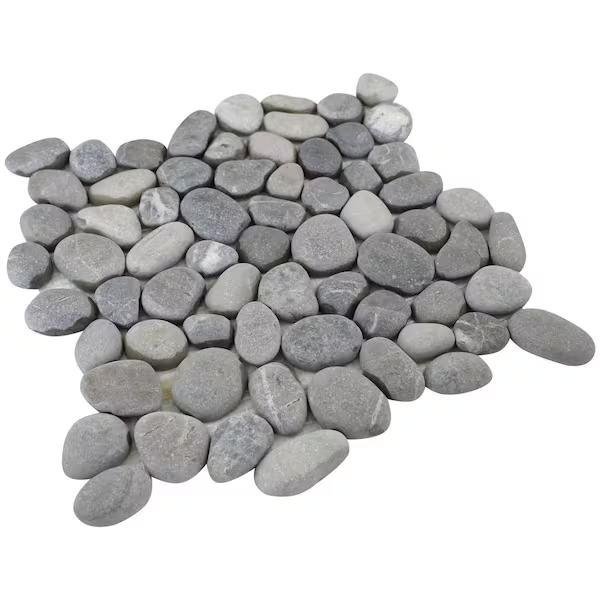
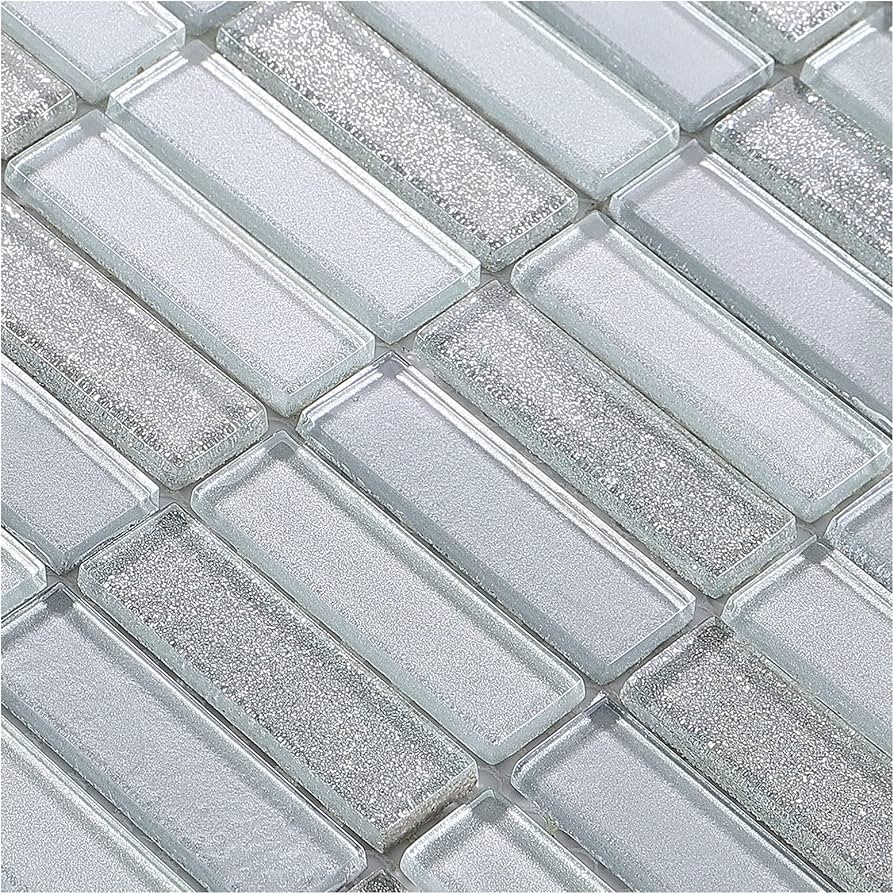
- فكر في حجم وشكل البلاط الذي يناسب أبعاد وأسلوب الدش. سواء كنت تستخدم بلاط حمامات كبير لمظهر بسيط أو بلاط فسيفساء صغير لأنماط معقدة، فإن اختيار النوع الصحيح يمكن أن يؤثر بشكل كبير على عملية التركيب والجمالية العامة.
استراتيجيات التخطيط
تحديد نقطة التركيز
-
- حدد نقطة التركيز في دشك. قد تكون جداراً مميزاً ببلاط ديكوري أو تخطيط نمط معين على أرضية الدش. البدء بالبلاط من هذه النقطة يضمن أن تظل هي الجاذبية الرئيسية للتصميم.
التماثل والتوازن
-
- لجدران الدش، تأكد من أن التخطيط يسمح بوضع بلاط كامل في الأعلى والأسفل من الجدار. قم بضبط نقطة البداية بحيث يتم وضع البلاط المقطوع في الأسفل بالقرب من الأرض حيث يكون أقل وضوحاً. هذه الطريقة تساعد على الحفاظ على التماثل والتوازن، مما يعزز الجاذبية البصرية لـدش البلاط الخاص بك.
القياس والتمييز
استخدام الأدوات المناسبة
-
- استخدم ميزان وشريط قياس لتحديد الإرشادات الأفقية والعمودية على بلاط جدران الدش. ستساعد هذه الإرشادات في التأكد من أن بلاطك متوازن ومستوي طوال عملية التركيب.
تجهيز البلاط جافًا
-
- قم بترتيب بلاطك على الأرض أمام الدش أو على سطح مستوي قريب. هذه العملية التجهيزية تسمح لك بتحريك البلاط وتعديل التصميم قبل تطبيق أي مادة لاصقة. إنها طريقة ممتازة لتصور كيف سيبدو البلاط فعلياً ولضبط التخطيط حسب الحاجة.
الاعتبارات العملية
قطع البلاط
-
li style=”list-style-type: none;”>
- حدد أماكن القطع الضرورية وخطط لوضع البلاط المقطوع في مناطق أقل وضوحاً في الدش، مثل الزوايا أو بالقرب من التجهيزات الصحية. هذا التوزيع يحافظ على المظاهر الأكثر وضوحاً نظيفة ومليئة بالبلاط الكامل.
فجوات التمدد
-
li style=”list-style-type: none;”>
- لا تنسى ترك مساحة لفجوات التمدد على طول حواف الدش. هذه الفجوات ضرورية للسماح بالحركة ومنع البلاط من التشقق بسبب التمدد الحراري أو التحولات الهيكلية.
كيفية بدء تبليط جدار الدش
يمكن أن يكون تبليط جدار الدش مشروع DIY مجزيًا يغير مظهر حمامك. سترشدك هذه الدليل خطوة بخطوة، مما يضمن أن حتى المبتدئين يمكنهم التعامل مع المهمة بثقة.التحضير للتبليط
جمع المواد والأدوات الخاصة بك
قبل أن تبدأ، تأكد من أن لديك جميع المواد اللازمة جاهزة:-
- بلاط مختار خصيصاً لجدران الدش
-
li style=”list-style-type: none;”>
- لاصق البلاط المناسب للمناطق الرطبة
-
li style=”list-style-type: none;”>
- مجرفة مسننة
-
li style=”list-style-type: none;”>
ul class=”wp-block-list”>
- فواصل
إعداد منطقة العمل
تأكد من أن جدران الدش نظيفة، جافة وخالية من الغبار أو الحطام. يجب إزالة أي لاصق أو بلاط قديم خلال مرحلة التحضير.تحديد نقطة البداية الخاصة بك
ابحث عن خط الوسط
ul class=”wp-block-list”> li style=”list-style-type: none;”> ul class=”wp-block-list”> li>استخدم ميزاناً لرسم خط عمودي في وسط جدار الدش. يعمل هذا الخط كنقطة مرجعية لضمان أن تكون تخطيط البلاط متماثلاً ومتوازناً.تحديد التخطيط
ul class=”wp-block-list”> li style=”list-style-type: none;”> ul class=”wp-block-list”> li>ضع صفاً من البلاط على طول الجزء السفلي من الجدار من خط الوسط نحو الأطراف بدون لاصق. يساعدك هذا التخطيط الجاف على تصور كيف سيتناسب البلاط وتحديد المكان الذي ستحتاج فيه إلى القطع. ضبط خط الوسط إذا لزم الأمر لتجنب وجود قطع صغيرة من البلاط على الجوانب.تطبيق اللاصق
خلط وتطبيق لاصق البلاط
ul class=”wp-block-list”> li style=”list-style-type: none;”> ul class=”wp-block-list”> li>اخلط لاصق البلاط وفقًا لتعليمات الشركة المصنعة. باستخدام مجرفة مسننة، وزع اللاصق على جزء صغير من الجدار، بدءًا من الأسفل بالقرب من خط الوسط. طبق كمية كافية من اللاصق لتغطية مساحة تعادل حوالي 2-3 بلاطات للحفاظ على سهولة الإدارة ومنع اللاصق من الجفاف.استخدام تقنية المجرفة الصحيحة
ul class=”wp-block-list”> li style=”list-style-type: none;”> ul class=”wp-block-list”> li>امسك المجرفة بزاوية 45 درجة لتطبيق طبقة متساوية من اللاصق. ثم، اصنع تموجات عمودية باستخدام الجانب المسنن. تساعد هذه التموجات على تحسين التصاق البلاط وتسمح بإجراء تعديلات طفيفة أثناء وضع البلاط.وضع البلاط
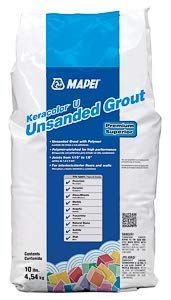
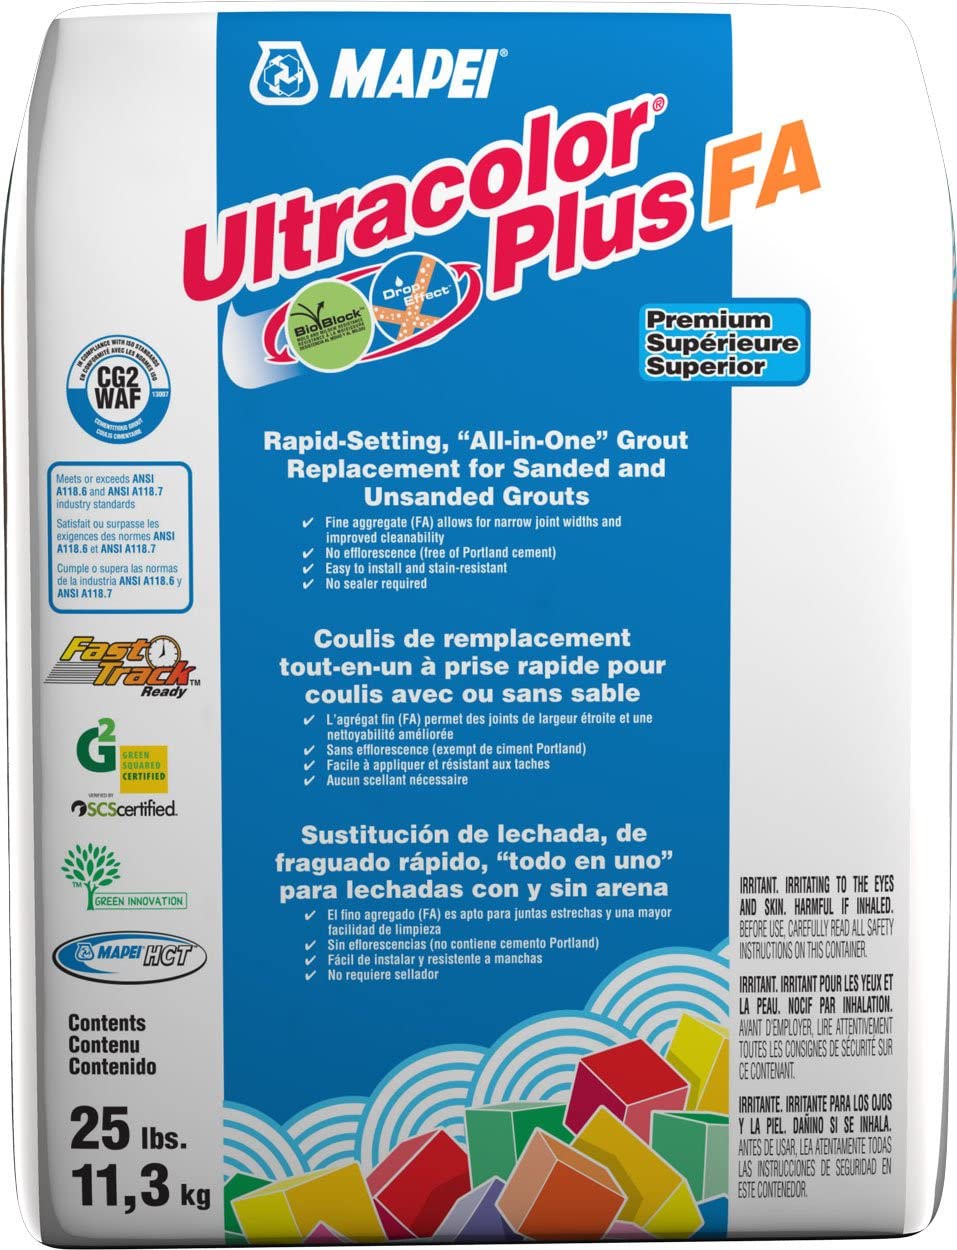
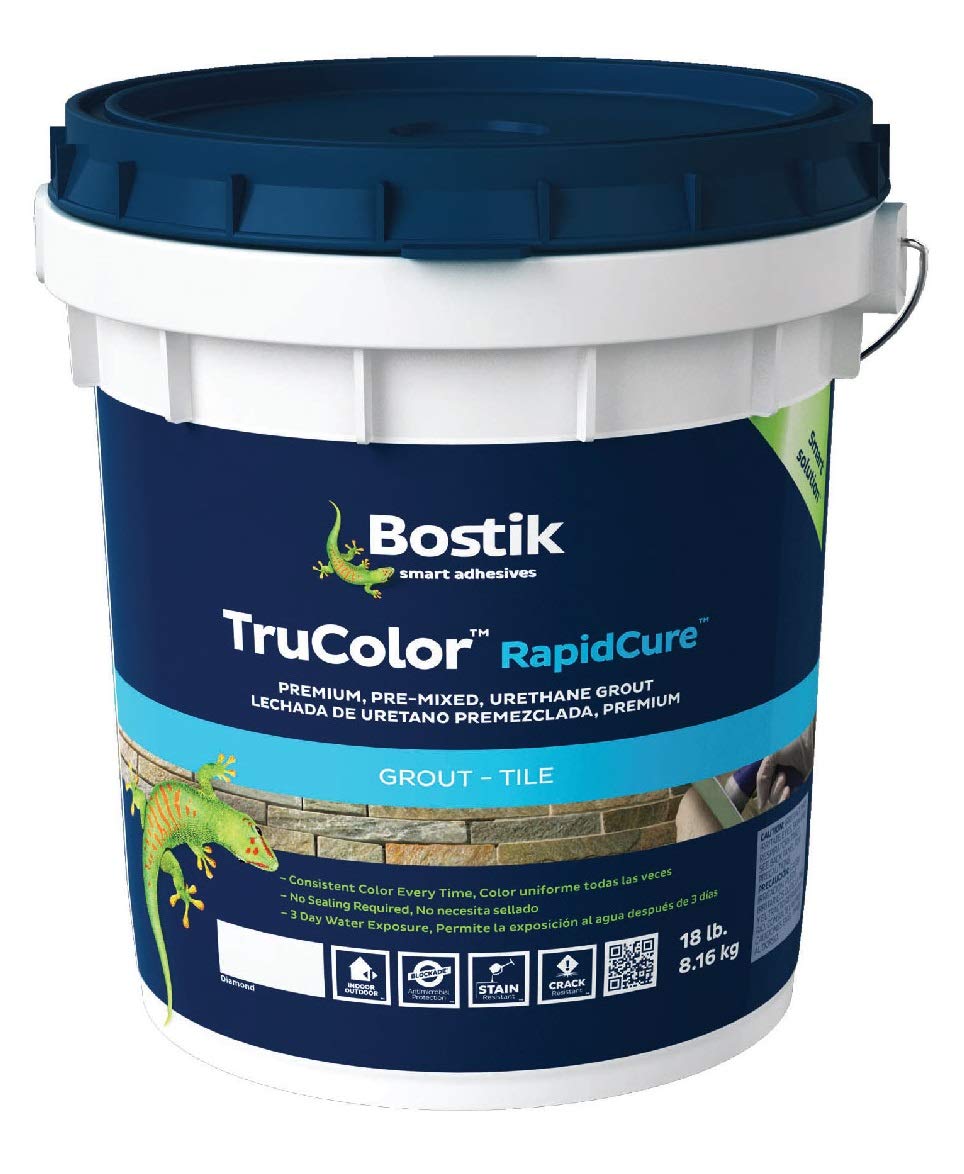
Grout Product Top Deals
Tools for the Job
Essential Tiling Tools
- Notched trowel: For applying adhesive. Choose a trowel with the correct notch size recommended for your specific tile size.
- Tile cutter or wet saw: For cutting tiles to fit around the drain and edges of the shower.
- Level: To ensure the floor is even and that tiles are laid flat.
Optional Tools for Enhanced Precision
- Laser level: For ensuring perfect horizontal alignment.
- Tile spacers: To maintain even gaps between tiles for consistent grout lines.
Preparing the Shower Floor
Ensuring Proper Drainage
- Make sure the shower base has the correct slope towards the drain. This slope is critical for water management, preventing standing water and promoting efficient drainage.
Applying Adhesive
Mixing and Applying Thin-Set Mortar
- Mix the thin-set mortar according to the manufacturer’s instructions to achieve the right consistency. Apply the mortar using the flat side of the notched trowel and then comb it with the notched side to create uniform ridges.
Setting the Tiles
Laying the Tiles
- Start by placing a tile at the intersection of your layout lines and work your way outward. Press each tile firmly into the mortar with a slight twisting motion to create a strong bond.
- Insert spacers between the tiles as you go to ensure even spacing for grout lines.
Making Adjustments
- Use the tile cutter or wet saw to make any necessary cuts to the tiles around the edges or to accommodate the drain.
Checking for Level and Adjustments
Ensuring Even Tile Placement
- Regularly check that the tiles are level and flush with one another using a spirit level. Adjust as necessary while the mortar is still wet.
Applying Grout
Grouting the Floor Tiles
- Once the mortar has set (typically after 24 hours), remove the spacers and apply epoxy grout between the tiles. Epoxy grout is ideal for shower floors due to its durability and resistance to water and mold.
Finishing Touches
Cleaning and Sealing
- After the grout has cured, clean the surface of the tiles and apply a sealer to the grout lines if recommended by the grout manufacturer. This sealing step helps to further waterproof and protect your new shower floor.
How to Tile a Walk-In Shower
Tiling a walk-in shower involves careful planning and execution to ensure a waterproof and visually appealing outcome. This guide will take you through the steps necessary to successfully tile your walk-in shower, making the process manageable even for a novice.
Planning and Design
Choosing Your Tiles
- Shower tiles: Select tiles that complement the aesthetic of your bathroom and offer durability and slip resistance, especially for the shower floor. Ceramic, porcelain, and stone tiles are popular choices for walk-in showers.
Measuring the Area
- Measure the walls and floor of your shower to determine how much tile, adhesive, and grout you will need. This is essential for ensuring that you purchase the right quantities and avoid running short during the project.
Tools and Materials
Essential Tiling Tools
- Tile cutter or wet saw: For precision cuts on ceramic or porcelain tiles.
- Notched trowel: For applying tile adhesive evenly.
- Level: To ensure tiles are perfectly horizontal and vertical.
- Spacers: To keep tiles evenly spaced.
Alternative Tools
- Angle grinder: For making complex cuts or adjustments.
- Tile nippers: For small or tricky cuts, especially around fixtures.
Preparing the Space
Waterproofing
- Waterproofing membrane: Apply a waterproofing membrane over the entire area to prevent water damage and mold growth. This step is crucial for maintaining the integrity of your walk-in shower.
Applying Adhesive
Mixing Adhesive
- Prepare your thin-set mortar by following the manufacturer’s instructions. The consistency should be suitable for a firm hold without sagging.
Application Technique
- Use the flat side of your notched trowel to apply an even coat of adhesive to the walls, then angle the trowel to create ridges. This technique helps the tiles adhere better and prevents air pockets.
Setting the Tiles
Starting from the Bottom
- Begin at the lowest row and work your way up. For walk-in showers, it’s essential to start from the bottom to ensure any water that drips down will fall on the tile, not the seams.
Placing Wall Tiles
- Press each tile firmly into the adhesive, using a slight twisting motion to embed it. Check each tile with a level to ensure it’s straight and adjust as necessary.
Tiling the Shower Floor
- Use smaller tiles to increase the grout lines, which will enhance the floor’s slip resistance. Ensure the floor tiles slope gently toward the drain to promote proper water drainage.
Grouting the Tiles
Choosing Grout
- Select a grout that matches your tiles and is suitable for wet areas, such as epoxy or urethane grout, which are more resistant to moisture and staining.
Applying Grout
- Fill the spaces between the tiles using a rubber float, working the grout into the joints thoroughly. Wipe excess grout with a damp sponge.
Finishing Touches
Sealing and Cleaning
- Once the grout has cured, apply a silicone sealant around the edges and corners where the walls meet the floor to ensure complete waterproofing.
- Clean the tiled surfaces with a suitable cleaner to remove any haze left by the grout.
Ensuring Proper Alignment and Spacing of Tiles
Accurate alignment and spacing are crucial for both the aesthetic appeal and long-term durability of your tiling project. This step-by-step guide will ensure that your tiles are perfectly aligned and spaced, providing a professional finish to your shower tile installation.
Importance of Alignment and Spacing
Consistency Is Key
- Proper alignment and consistent spacing are essential not only for visual appeal but also to ensure that the tiles are evenly supported and grout lines are sealed effectively, preventing moisture penetration.
Tools Required for Alignment and Spacing
Essential Tools
- Level: A crucial tool for checking the alignment of tiles both horizontally and vertically.
- Tile spacers: These small but vital tools help maintain uniform gaps between tiles, crucial for even grout lines.
Alternative Tools
- Laser level: Offers a more advanced, precise line for alignment, especially useful over large areas.
- Tape measure: For measuring space between tiles and ensuring uniform distance from walls and fixtures.
Steps to Ensure Proper Alignment
Setting Up Your Guide Lines
- Before you begin tiling, use a level or laser level to draw straight horizontal and vertical guide lines on the surfaces to be tiled. These lines serve as reference points to keep your tile placement accurate.
Starting from a Central Point
- Begin laying your tiles from the center of the area to ensure symmetrical tile patterns, especially important in visible areas like the center of a shower wall or the entrance of a walk-in shower.
Achieving Uniform Spacing
Using Tile Spacers
- Place tile spacers at each corner of the tile to ensure consistent spacing. This not only helps in keeping the tiles evenly spaced but also aids in the alignment as you continue to lay additional tiles.
Regular Checks
- Frequently place a level on top of the newly laid tiles to check for evenness across the surface. Adjust as needed while the adhesive is still wet.
Adjustments and Corrections
Making Necessary Adjustments
- If a tile is not perfectly level or spaced, gently lift it and add or remove adhesive as required. Reapply the tile and check alignment again with the level.
Final Alignment Checks
- Once an entire section is laid, step back and view the tiles from different angles to check for any misalignment or uneven spacing that may have been overlooked.
Applying Grout to Shower Tiles
Grouting is a crucial step in finishing your tiling project, as it seals the spaces between the tiles and adds to the overall waterproofness and durability of the area. This guide will walk you through the process of applying grout to shower tiles, ensuring a clean and professional finish.
Choosing the Right Grout
Types of Grout
- Epoxy Grout: Highly recommended for showers due to its durability and resistance to moisture and stains. It’s ideal for both wall and floor tiles in wet areas.
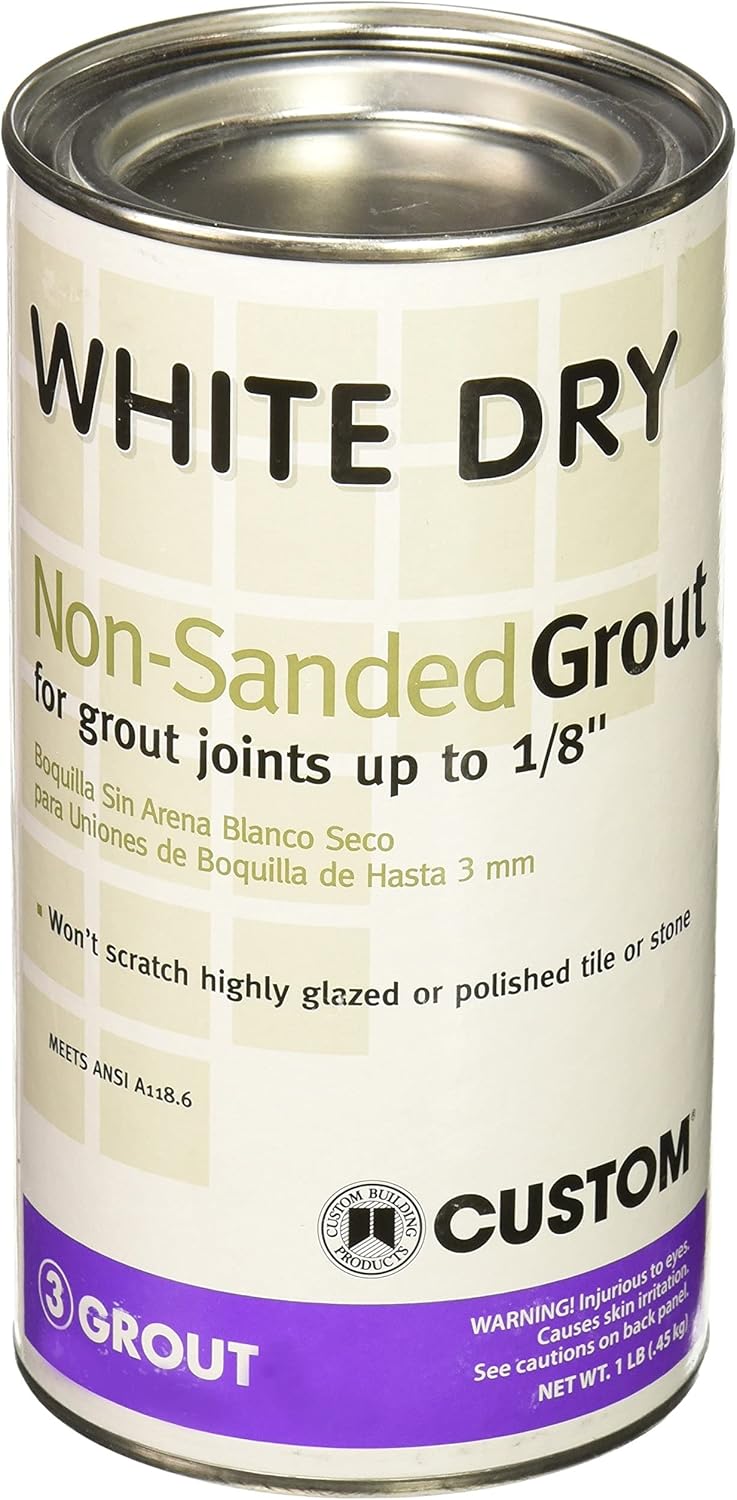
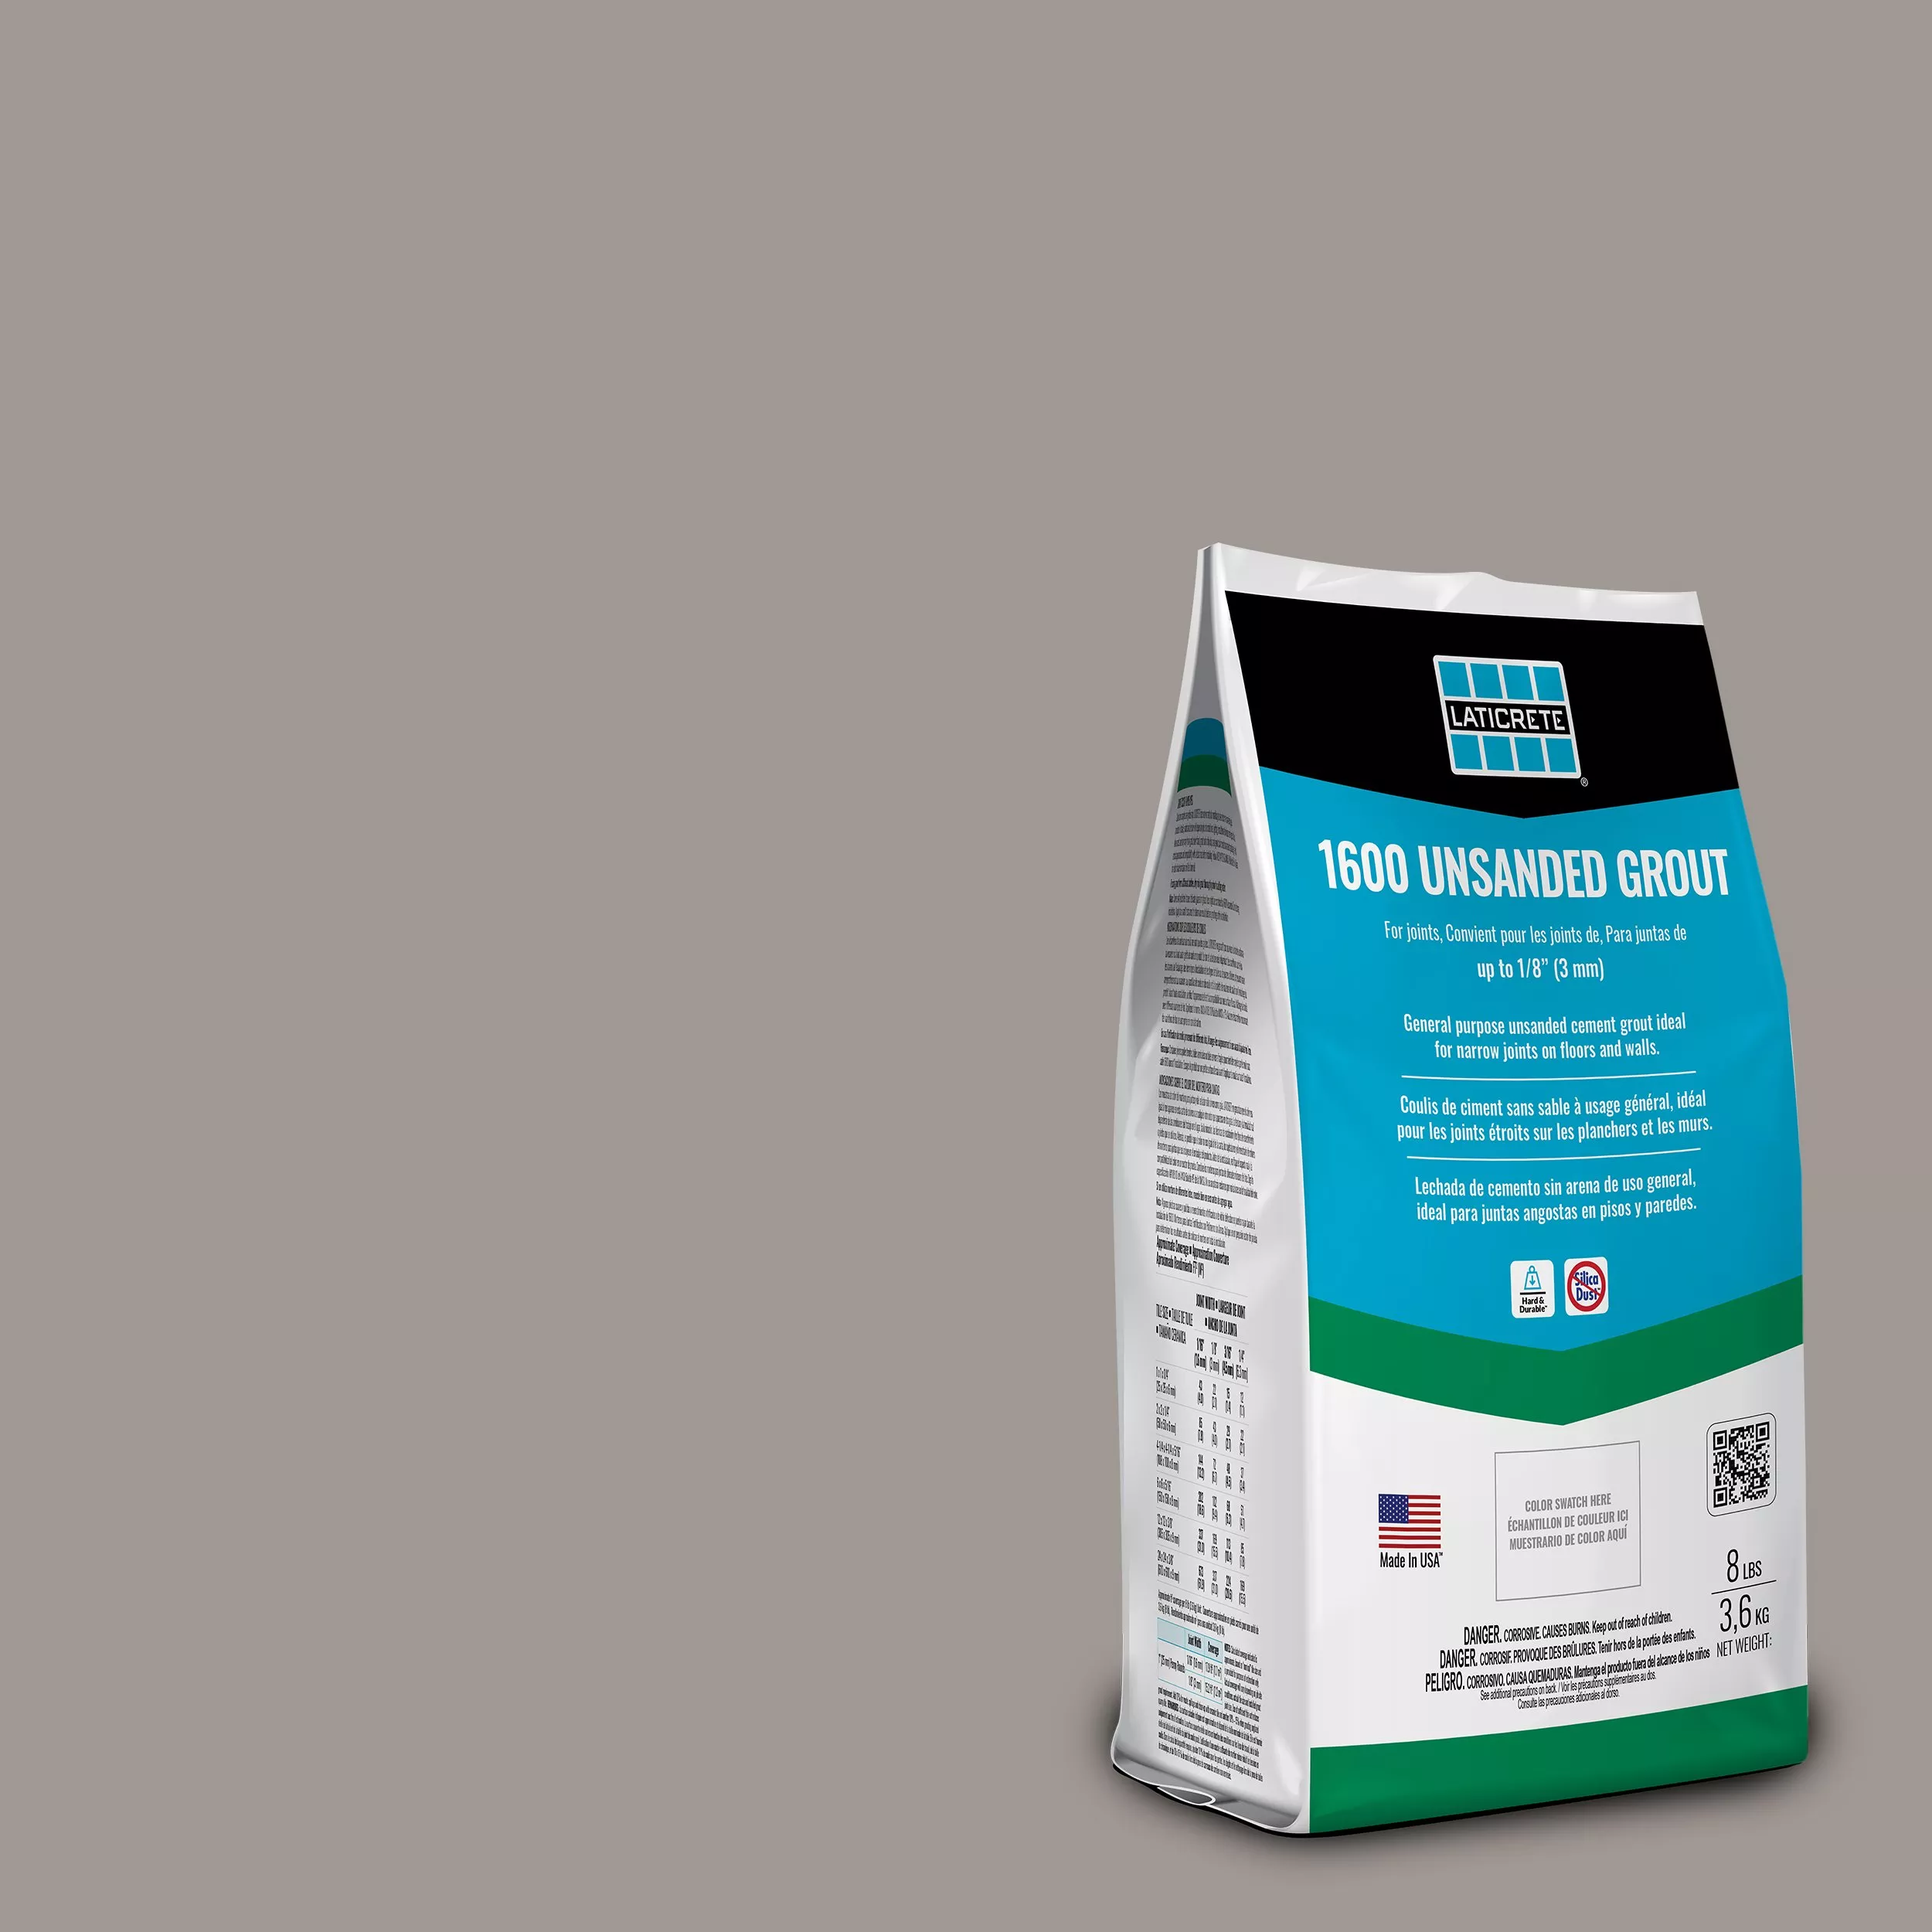
- Sanded Grout: Suitable for wider grout lines typically found on shower floors or rustic tile designs.
Tools and Materials
Essential Grouting Tools
- Rubber float: Used to apply and press the grout into the joints between the tiles.
- Grout sponge: For wiping away excess grout from the surface of the tiles.
- Grout bucket: To mix and keep your grout ready to use.
- Grout sealer: Applied after the grout has cured, to enhance its waterproof and anti-stain properties.
Alternative Tools
- Grout bag: Similar to a piping bag, which can be used for more controlled application, especially in tight spaces or when working with intricate patterns.
Preparing to Grout
Mixing the Grout
- Mix your grout according to the manufacturer’s instructions until you achieve a smooth, paste-like consistency. Avoid making it too watery as this can weaken the mixture.
Applying the Grout
Filling the Joints
- Using a rubber float, apply the grout at a 45-degree angle to the joints, pressing firmly to pack the joints fully. Ensure that every joint is filled completely without any air pockets.
Be Systematic
- Work in small sections to maintain control over the consistency and setting time of the grout. This method helps ensure that you can clean the surface effectively before the grout begins to harden.
Cleaning as You Go
Wiping Excess Grout
- After applying the grout to a section, wait about 10 minutes (or follow the grout manufacturer’s recommendations) then begin wiping off the excess with a damp grout sponge. Rinse the sponge frequently to avoid dragging grout out of the joints.
Finishing Touches
Smoothing the Joints
- As the grout starts to set but isn’t fully hard, use a damp sponge or your finger to smooth out the joints. This will give a neat, professional finish to your tiling work.
Cleaning the Tile Surface
- Once the grout has cured slightly, use a clean, slightly damp sponge to clean the surface of the tiles again. This step removes any grout haze that might be left, which is crucial for the aesthetic of the tile shower.
Sealing the Grout
Applying Grout Sealer
- Once the grout has fully cured (usually 24 to 72 hours after application), apply a grout sealer to help resist future stains and moisture ingress. This step is particularly important in a wet environment like a shower.
Cleaning and Finishing the Tiled Surface
After grouting, cleaning and finishing the tiled surface is crucial to ensure a pristine appearance and maintain the longevity of your shower tiles. This final step will protect your hard work and enhance the overall look of your tiled shower.
Essential Cleaning Steps
Removing Grout Haze
- Grout haze is a thin film left on tiles after grouting. It’s important to remove this haze to reveal the true color and finish of your tiles.
Tools and Materials Needed
Basic Cleaning Tools
- Grout sponge: Soft yet dense, perfect for wiping off excess grout and cleaning tiles without scratching them.
- Cheesecloth or microfiber cloth: Useful for buffing the tiles and giving them a polished look once they are clean.
Specialized Cleaning Solutions
- Grout haze remover: A chemical solution designed to safely remove grout haze from tiles without damaging the grout itself. This is particularly useful if the haze has been left too long and has become difficult to remove with just water.
Step-by-Step Cleaning Process
Initial Cleaning
- As soon as you’ve finished applying the grout, wait for the time recommended by the grout manufacturer (usually about 10 to 20 minutes), then start the initial cleaning with a damp grout sponge. Wipe in a diagonal motion across the tiles to avoid pulling grout out of the joints.
Removing Persistent Haze
- After the initial cleaning, let the tiles dry and inspect them for any remaining haze. If a haze persists, apply a grout haze remover following the manufacturer’s instructions. Apply the cleaner with a sponge or cloth, then rinse thoroughly with clean water.
Finishing Touches
Polishing the Tiles
- Once the surface is clean and free of haze, use a dry cheesecloth or microfiber cloth to buff the tiles. This step enhances the tile’s natural shine and removes any lingering streaks or smudges.
Final Inspection
- Conduct a final inspection to ensure all areas are clean, the grout lines are smooth, and there are no missed spots. Check corners and edges, as these are areas where grout and dirt often accumulate.
Protecting the Grout
Sealing the Grout
- Applying a grout sealer is recommended to protect the grout from water penetration and staining, especially in a shower environment. Sealers also make future cleaning easier by preventing dirt from embedding in the grout lines.
Maintenance Tips
Regular Cleaning
- Maintain the beauty and cleanliness of your shower by regularly cleaning the tiles and grout. Use pH-neutral cleaners to avoid damaging both the tiles and the grout.
Spot Cleaning
- For any spills or stains, spot clean immediately to prevent the stain from setting. Use appropriate cleaners based on the type of tile and grout you have installed.
Curing Time and Sealing the Tiles
The final stages of tiling a shower involve allowing the materials to cure and applying a sealer to protect your tiles and grout. Proper curing and sealing are crucial for ensuring the longevity and durability of your tiled shower.
Understanding Curing Time
Importance of Proper Curing
- Curing time refers to the period during which the adhesive and grout set and harden completely. This process is crucial for achieving optimal strength and adhesion, preventing tiles from shifting and grout from cracking.
Guidelines for Curing
Wait Time Before Sealing
- Typically, grout requires about 24 to 72 hours to cure fully, depending on the humidity and temperature. Refer to the manufacturer’s instructions for specific curing times.
Sealing the Tiles
Choosing the Right Sealer
- Tile sealer: Protects the tiles from water, stains, and erosion. Particularly important in showers where frequent exposure to water can cause damage over time.
- Grout sealer: Helps to waterproof the grout, preventing mold and mildew buildup and making the grout easier to clean.
Tools and Materials for Sealing
Essential Tools for Application
- Foam brush or roller: Ideal for applying sealant evenly across the tiles and grout lines.
- Spray applicator: An alternative that can be more efficient for applying sealer on large surface areas.
Protective Gear
- Gloves and safety glasses: Essential to protect your skin and eyes from potential irritation caused by the sealer.
Step-by-Step Sealing Process
Preparing the Surface
- Ensure that the tiles and grout are completely clean and free from any dust, grime, or haze before applying the sealer. Any debris left on the surface can get sealed in, affecting the appearance and potentially the durability of the seal.
Applying the Sealer
- Apply the sealer evenly over the tiles and grout lines using a foam brush, roller, or spray applicator. Work in small sections to maintain control over the application, ensuring no areas are missed or overly saturated.
Curing the Sealer
Drying Time
- Allow the sealer to dry as per the manufacturer’s instructions. This typically takes a few hours, but some sealers might require a longer period to cure completely.
Testing the Seal
- Once the sealer has dried, test its effectiveness by splashing a small amount of water on the tiles and grout. The water should bead up and not soak in. If it soaks in, an additional coat of sealer may be necessary.
Maintenance and Care
Regular Cleaning
- Maintain the shower by cleaning it regularly with a gentle, non-abrasive cleaner. Avoid harsh chemicals that can strip the sealer and damage the grout and tile.
Periodic Re-Sealing
- Depending on the wear and the product used, re-seal the tiles and grout every one to two years to ensure continuous protection against moisture and stains.
Final Inspection and Maintenance Tips
After completing the tiling, curing, and sealing of your shower, a final inspection is crucial to ensure everything is correctly finished, and ongoing maintenance is vital to prolong the life and beauty of your tiled shower.
Conducting the Final Inspection
Checking Tile Alignment
- Visual Check: Walk around the shower and visually inspect the alignment of the tiles. Look for any uneven tiles or misaligned patterns that might have been overlooked.
- Level: Use a level to check that the tiles are flat and even across all surfaces. This ensures there are no protruding edges where water could collect.
Inspecting Grout and Sealant
- Consistency: Ensure that the grout lines are uniform and there are no gaps or missing grout.
- Sealant Integrity: Check the sealant around edges, corners, and transitions to make sure it is smooth and fully sealing the gaps. There should be no cracks or areas where water might penetrate.
Maintenance Tips for a Long-lasting Shower
Routine Cleaning
- Gentle Cleaners: Use pH-neutral cleaners to avoid damaging the grout and tiles. Harsh chemicals can erode the sealant and expose the grout to moisture and mildew.
- Soft Brushes or Sponges: Avoid abrasive tools which can scratch the tile surface or wear down the sealant.
Preventing Mold and Mildew
- Ventilation: Ensure good ventilation in the bathroom to reduce humidity levels. Use an exhaust fan during and after showers to help dry out the area.
- Regular Wiping: After using the shower, squeegee the water off the tiles and glass to prevent water spots and reduce the moisture that contributes to mold growth.
Addressing Issues Early
- Prompt Repairs: If you notice loose tiles, cracks in the grout, or deterioration of the sealant, address these issues promptly. Early repairs can prevent water damage and more extensive problems.
Tools and Products for Maintenance
Essential Items
- Tile and Grout Cleaner: Select a cleaner designed for bathroom tiles and grout.
- Squeegee: A squeegee is effective for keeping the walls dry and free of water droplets.
- Sealant: Have sealant on hand for any necessary touch-ups along corners and edges where the original application may wear out over time.
Alternative Cleaning Solutions
- Vinegar and Water Solution: For a natural cleaning option, mix vinegar with water. This can help in removing soap scum and water stains but should be used cautiously as vinegar can be acidic.
Long-term Care
Regular Inspections
- Annual Check-Up: Once a year, inspect the entire shower area for any signs of wear or damage. Look specifically at the grout and sealant and make repairs as needed.
Re-Sealing
Frequency: Depending on the level of use, re-seal the grout and tiles every one to two years to ensure ongoing protection against moisture.
FAQs
Where do you start when tiling a shower?
- When tiling a shower, it’s best to start tiling from the bottom up. Begin at the center of the wall or floor, using a level to mark a straight line, ensuring symmetry and proper alignment of your shower tiles.
Can a beginner tile a shower?
- Yes, a beginner can tile a shower if they follow proper steps and guidelines. It’s important to understand each step from preparing the shower, choosing the right tiles, mixing adhesive, setting tiles, and applying grout, to sealing the tiles.
Do I need to waterproof shower walls before tiling?
- Yes, it is essential to waterproof shower walls before tiling to prevent moisture damage. Using a waterproofing membrane on the walls is recommended to ensure durability and prevent water infiltration.
What is best to put behind tile in a shower?
- The best material to put behind tile in a shower is cement board or a waterproof backer board. These materials provide a sturdy, moisture-resistant surface that supports the tiles effectively.
Can you tile a shower floor directly on concrete?
- Yes, you can tile a shower floor directly on concrete as long as the concrete is level, clean, and properly prepared. Ensure the concrete is not cracked and consider applying a waterproofing membrane before tiling.
Should I tile shower walls or floor first?
- It is generally recommended to tile shower walls first, then the floor. This order helps prevent damage to the floor tiles from tools or tiles falling from the walls during the installation process.
Can you tile straight onto plaster?
- Tiling directly onto plaster is not recommended as plaster may not adequately support the weight of the tiles and can deteriorate in moist conditions. Instead, it’s better to use a backer board or apply a suitable primer or bonding agent first.
Can you tile directly onto brick?
- Yes, you can tile directly onto brick, but the surface needs to be level and in good condition. It may require cleaning and priming to ensure proper adhesion of the tiles.
How do you prepare a shower before tiling?
- To prepare a shower before tiling, clean and level the surfaces, repair any damage, and apply a waterproofing membrane. Ensure all surfaces are dry and free of debris before starting to tile.
Can I tile directly onto cement board?
- Yes, you can tile directly onto cement board. This is a common practice as cement board provides a strong, moisture-resistant foundation for tiles.
What goes between tiles in shower?
- Grout goes between tiles in a shower. It fills the spaces and helps secure the tiles in place while providing a finished look. Use a waterproof grout to prevent moisture penetration.
Do you need a membrane under tile?
- Yes, a membrane under tile in wet areas like showers is essential for waterproofing. This prevents water damage and ensures the longevity of the tile installation.
How to fix shower slope?
- To fix a shower slope, adjust the height of the subfloor or use a leveling compound before installing the shower floor tiles. This ensures that water drains effectively towards the drain.
Can you tile over cement?
- Yes, you can tile over cement as long as it is clean, level, and free of cracks. Ensure proper surface preparation to enhance the adhesion of tiles.


