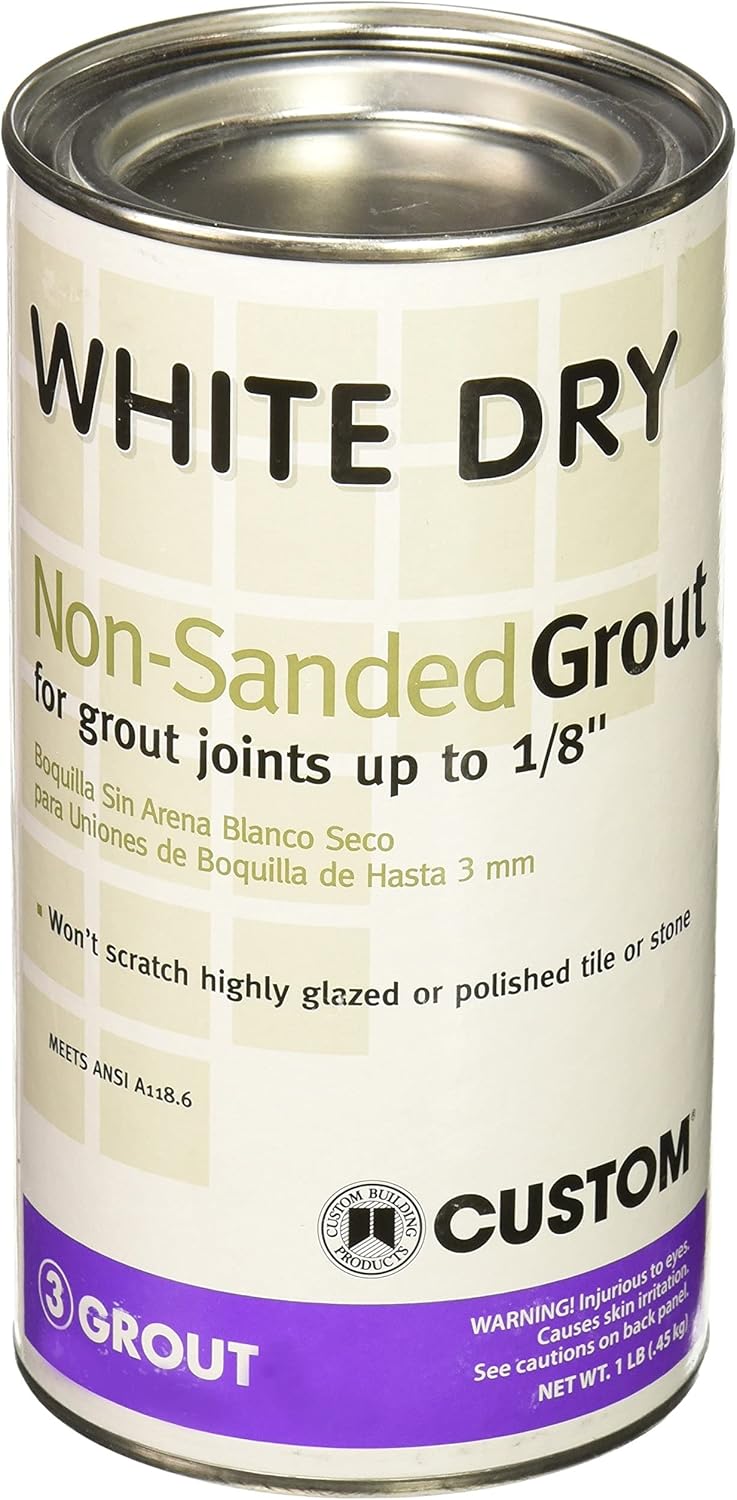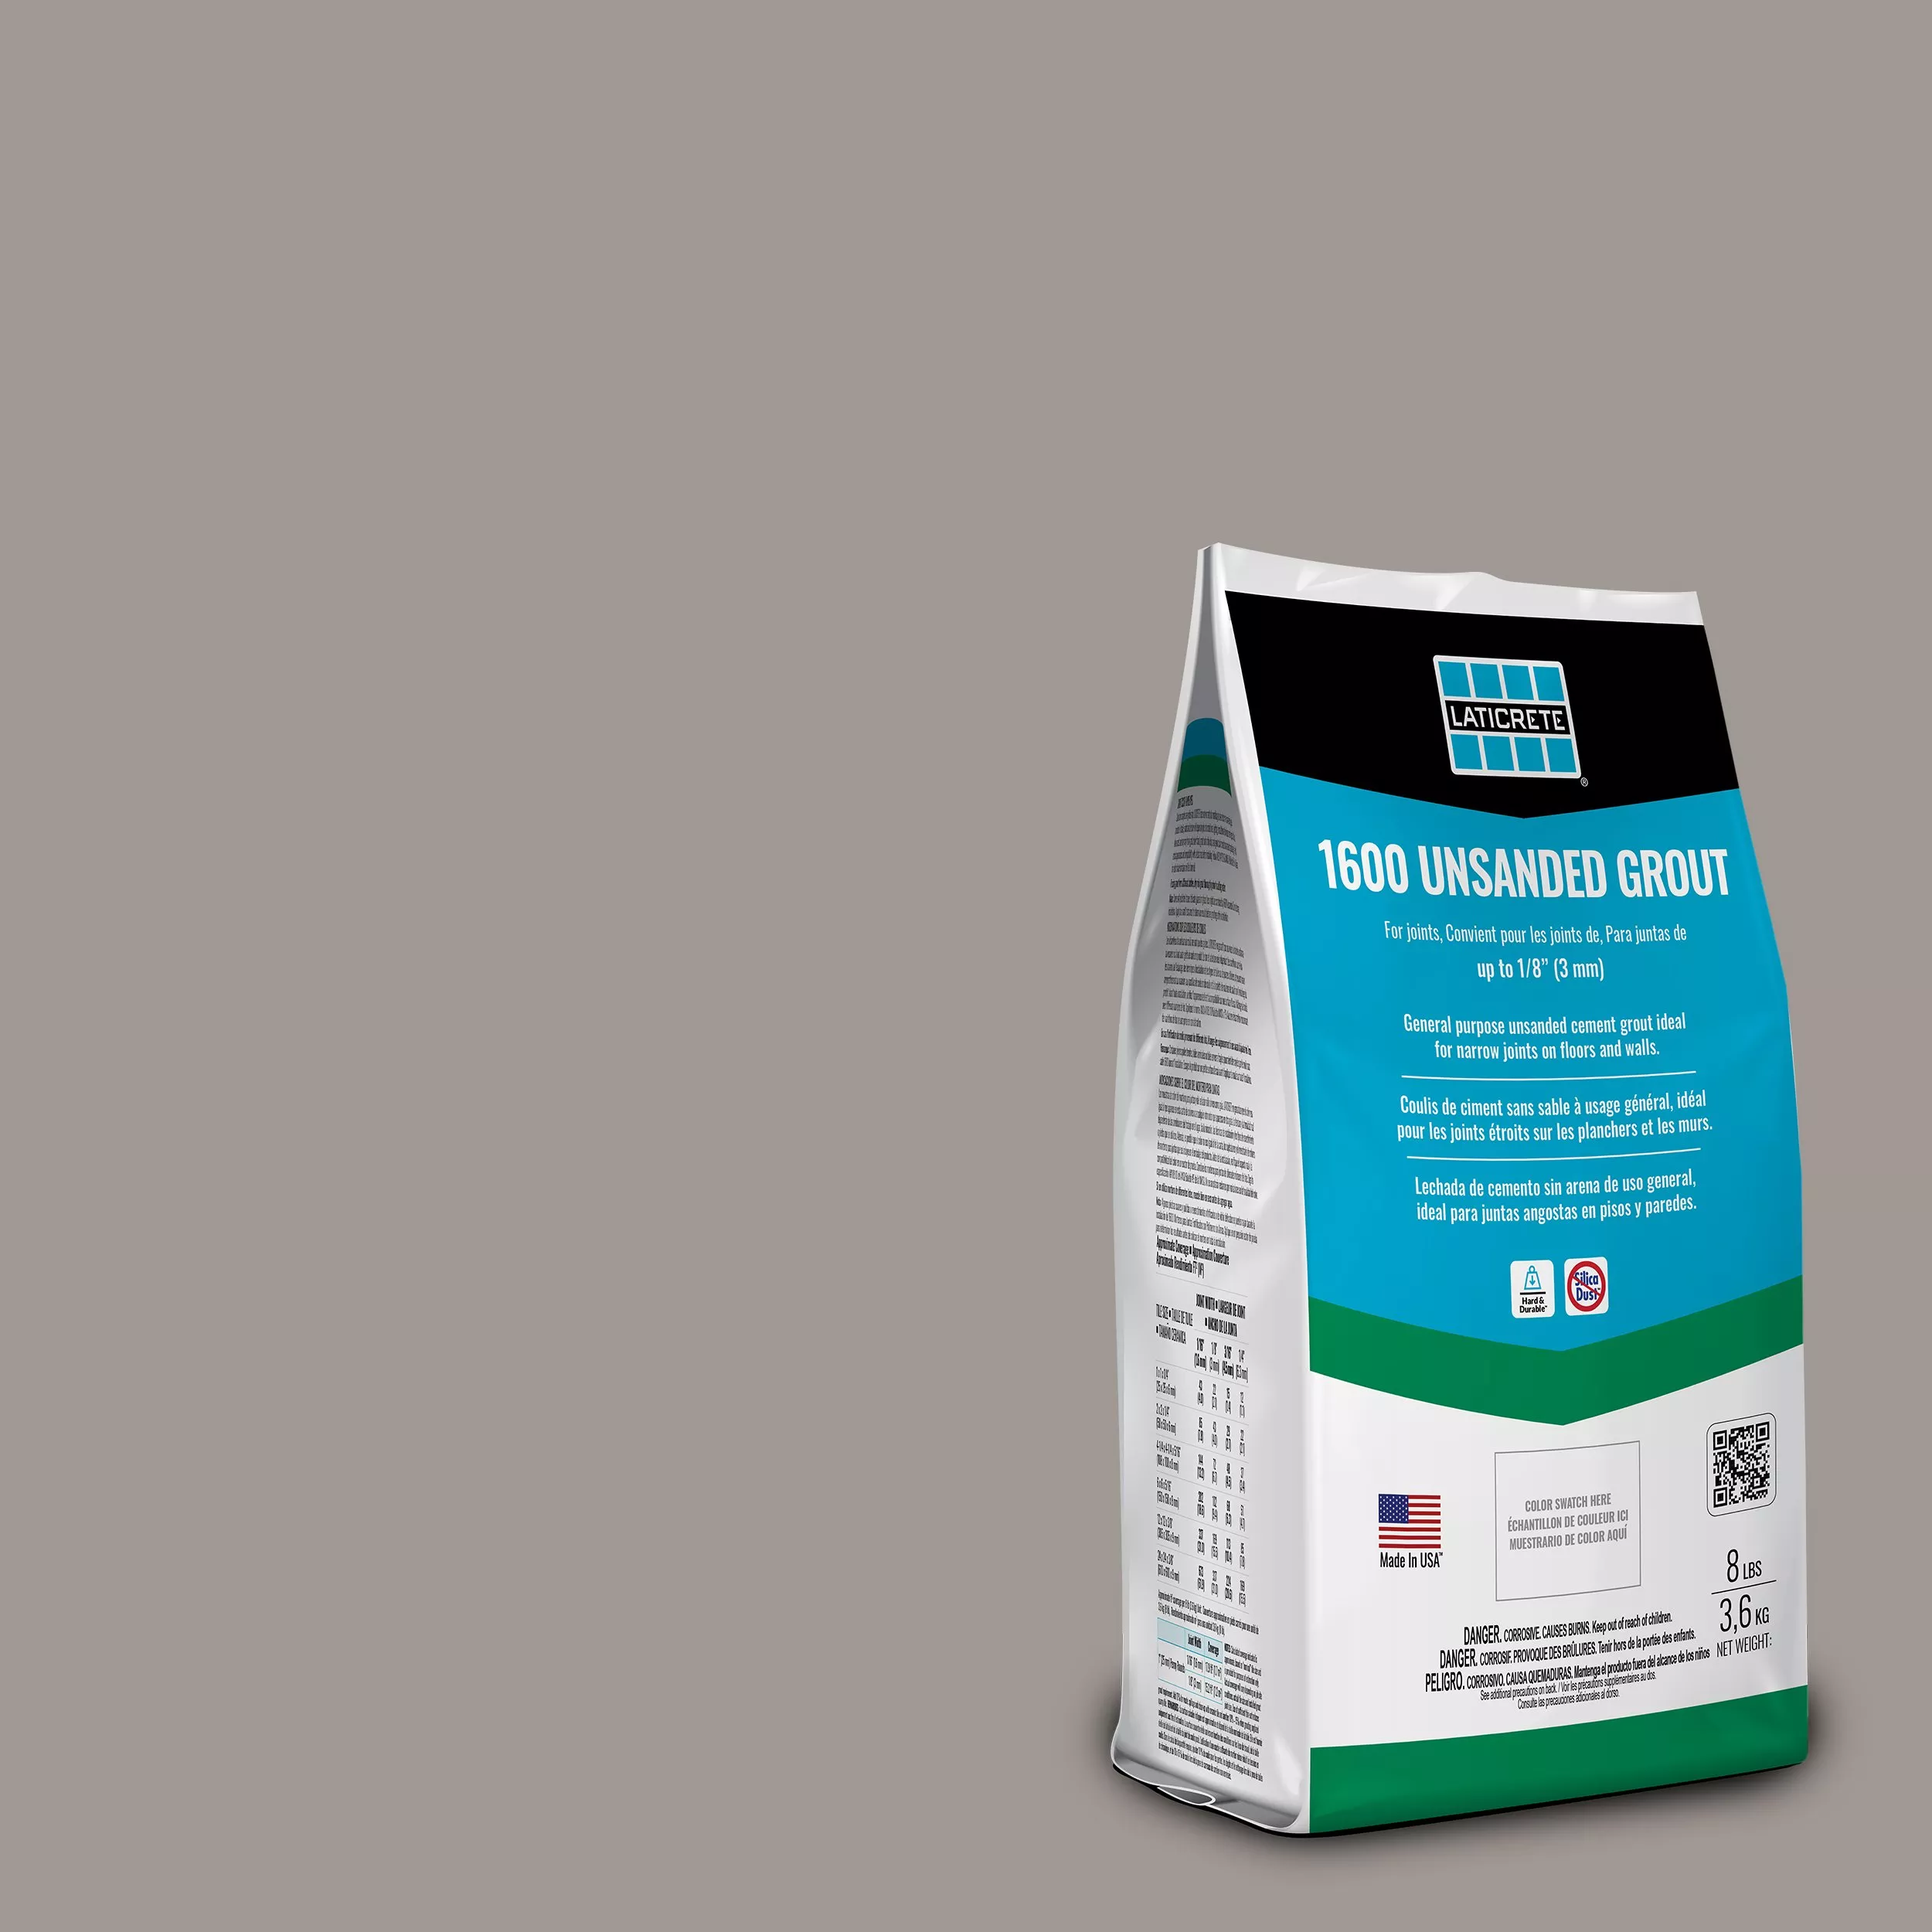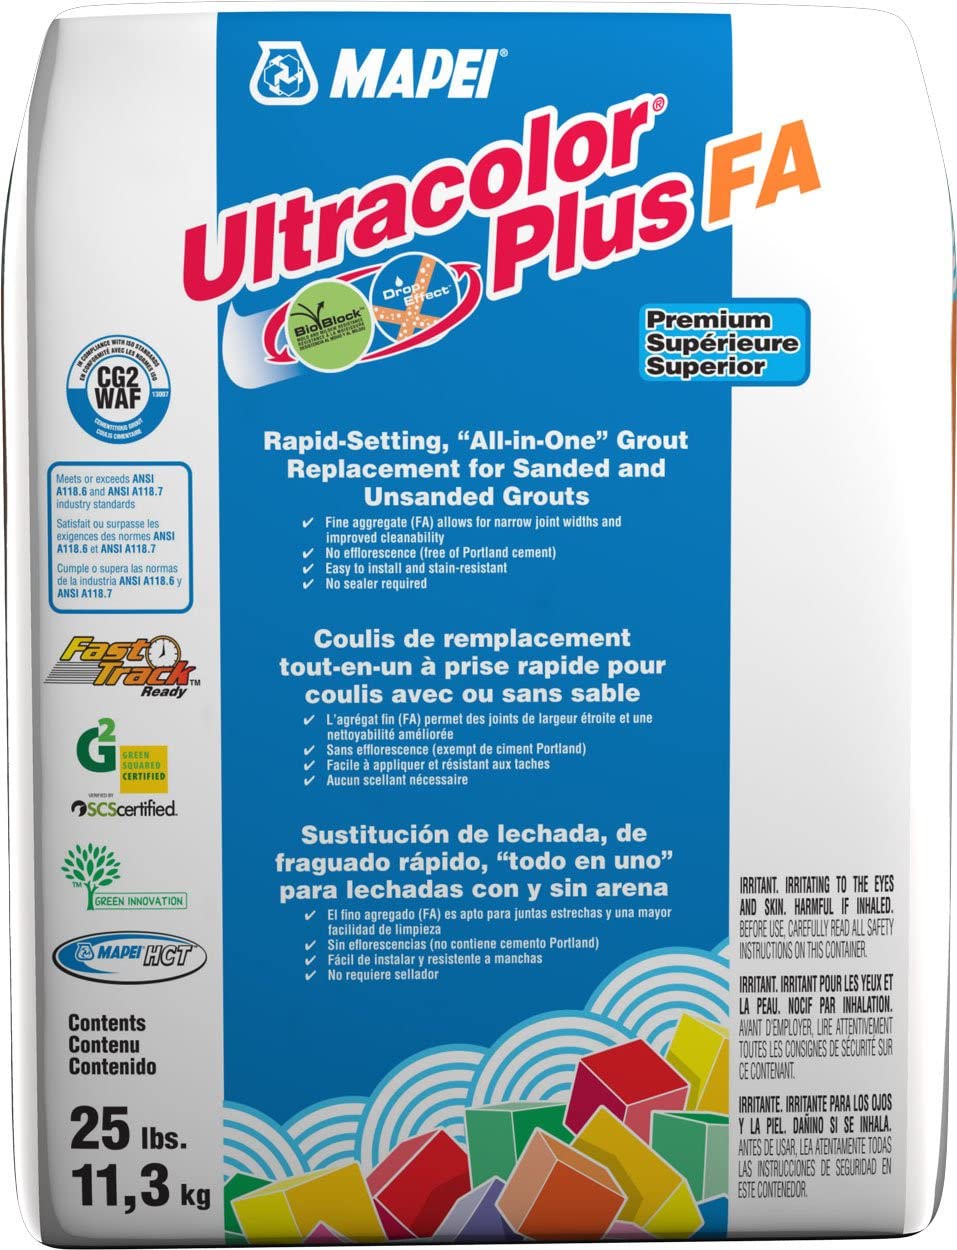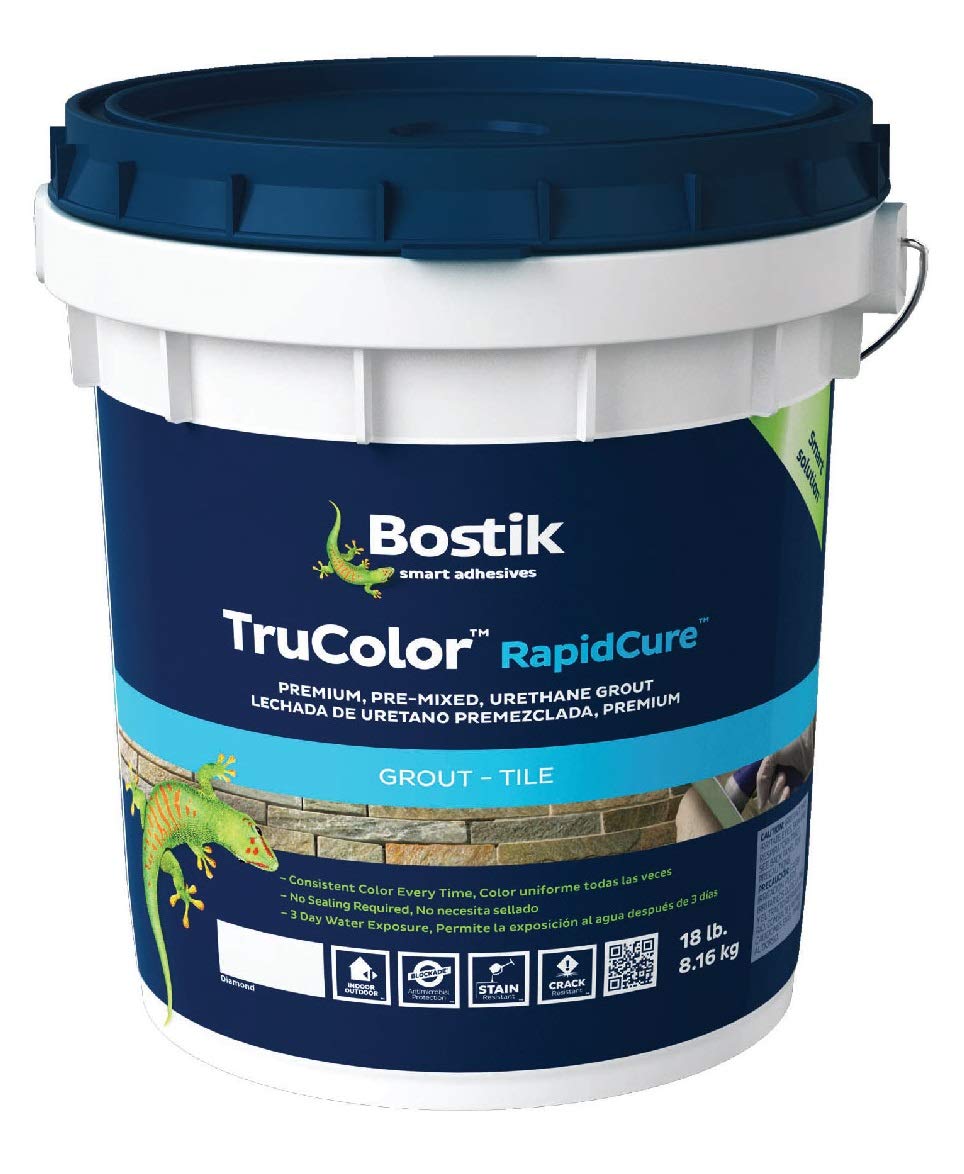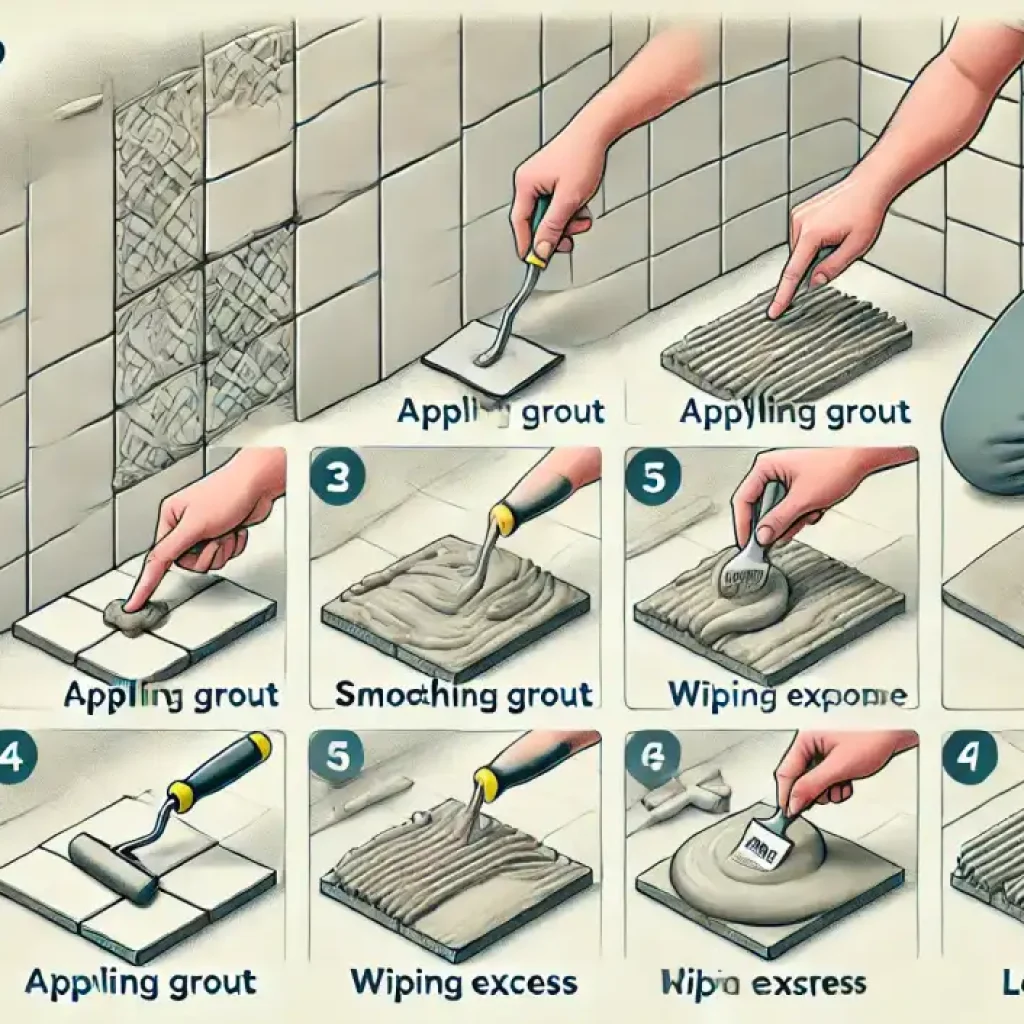
Grouting tile is an essential step in tile installation that fills the spaces between tiles, seals the layout from moisture, and gives the surface a finished look. Begin by selecting the right type of grout for your tile material and installation area. For moisture-prone areas like bathrooms or kitchens, consider using an epoxy-based grout because it is waterproof and resists staining. For other areas, a sanded or unsanded grout might be more appropriate depending on the width of your tile joints. Unsanded grout is typically used for joints less than 1/8 inch wide, while sanded grout is used for larger joints.
Before applying grout, ensure that your tiles are clean and that any spacers used during installation have been removed. Start by mixing the grout according to the manufacturer’s instructions, which usually involves adding water to the grout powder until you achieve a smooth, pasty consistency. Use a grout float to apply the mixture, holding the float at a 45-degree angle to the tiles to press grout firmly into the joints. Work in a diagonal motion to avoid pulling grout out of the joints as you spread it across the tiles.
Once you’ve filled all the joints, allow the grout to set for about 10-20 minutes, then begin the cleanup process. Using a damp sponge, carefully wipe away the excess grout from the surface of the tiles. Be careful not to press too hard and remove grout from the joints. Rinse the sponge frequently in clean water to avoid re-depositing grout back onto the tiles. After the grout has fully dried, usually within 24 hours, you’ll notice a haze on the tile surface. Use a soft cloth or cheesecloth to buff this haze off gently. Finally, applying a grout sealer after the grout has cured completely, typically a few days later, will help protect the grout from moisture and stains, extending the life of your tiled surface.
Detailed Steps for Tile Grouting
1. Choosing the Right Grout
Choosing the right grout for your tile installation is critical to ensure durability, aesthetics, and functionality. The decision largely depends on the type of tile used and where the tile is being installed. Grout acts not only as a filler for the joints but also as a vital component in the overall longevity of the tile work.
Evaluate Tile Type and Joint Width
Start by evaluating the type of tile and the joint width between them. For finer joints less than 1/8 inch typically found with wall tiles, unsanded grout is preferred because it is smoother and adheres better to vertical surfaces without sagging. For wider joints found in floor tiles, sanded grout is ideal as the sand particles help strengthen the grout to withstand the pressure of foot traffic.
Select Between Sanded and Unsanded Grout
Sanded grout is used for larger joints and is made with sand to provide extra strength and crack resistance. Recommended products include Custom Building Products’ Polyblend Sanded Grout, which offers a robust formulation suitable for flooring tiles. Unsanded grout, which lacks sand, is smoother and more suitable for delicate tile surfaces like glass or polished stone that might scratch easily. A popular choice for unsanded grout is MAPEI’s Keracolor U, known for its easy application and excellent adhesion.
Consider Moisture Exposure and Stain Resistance
Consider the environment in which the tile is installed. Areas that are prone to moisture like bathrooms and kitchens require a grout that offers mold and mildew resistance. For these areas, an epoxy grout like LATICRETE SpectraLOCK Pro Premium Grout is ideal as it is waterproof and extremely durable against stains and chemical products. Epoxy grouts are more expensive but provide a longer lifespan and less maintenance. If the installation area has moderate to low moisture exposure, a cement-based grout sealed with a grout sealer such as Aqua Mix Sealer’s Choice Gold can be sufficient to protect against stains while maintaining the integrity of the grout lines.
By carefully selecting the type of grout, taking into account the tile type, joint width, and exposure to moisture and potential staining, you can significantly enhance both the performance and appearance of your tile installation.
2. Preparing the Tile Surface
Proper preparation of the tile surface is crucial before applying grout to ensure strong adhesion and a clean finish. This stage sets the foundation for the grouting process.
Clean the Tiles and Remove Spacers
Start by thoroughly cleaning the tiles to remove any dust, dirt, or adhesive residue that might impair the grout’s ability to bond effectively. Use a damp cloth or sponge and a mild cleaning solution to wipe down the tiles. After cleaning, carefully remove all tile spacers. These spacers are crucial during the tile laying process but must be removed before grouting. For stubborn adhesive residue, consider using a product like Krud Kutter, which is effective at breaking down glue and grime without damaging the tile surface.
Ensure Joints are Free of Debris
Once the spacers are removed, inspect the joints between the tiles to make sure they are completely free of debris. Any leftover particles can prevent the grout from adhering properly and can cause voids or weak spots in the finished grout lines. Use a small vacuum or a soft brush to clean out the joints thoroughly. For deeper or tighter spaces, a specialized tool like the Hyde Tools Grout Removal Tool can be used to scrape out hard-to-remove debris without damaging the edges of the tiles.
These steps are essential for preparing the tile surface, as they ensure that the grout will have a clean, debris-free space to bond, resulting in a smoother and more durable finish.
3. Mixing the Grout
Properly mixing the grout is vital to achieving a strong, durable finish that resists cracking and shrinking. Accurate mixing ensures that the grout applies evenly and cures correctly.
Follow Manufacturer’s Instructions
Begin by carefully reading and following the manufacturer’s instructions on the grout package. Each type of grout may have specific ratios of water or a special liquid additive to grout powder that must be precisely measured to ensure optimal performance. For instance, using Custom Building Products’ Grout Mix or MAPEI’s Grout Maximizer as an additive instead of water can enhance the grout’s stain resistance and durability.
Achieve the Correct Consistency
Mix the grout in a clean bucket using a mixing paddle attached to a low-speed drill, which ensures a consistent, lump-free mixture. The consistency of the grout should resemble peanut butter—thick enough to hold its shape, but moist enough to press into the joints. If the grout is too runny, it may shrink as it dries; if it’s too thick, it might not fill the joints completely or could be difficult to work with. Test the consistency by picking up a small amount with your grout float; it should stick to the tool without dripping off.
By adhering to the specific mixing instructions and achieving the right consistency, you’ll ensure that the grout is easy to work with and provides a strong, lasting bond between the tiles. Use products like QEP’s Super Grout Mixer for an efficient and thorough mix, which can be crucial, especially for larger tiling projects.
4. Applying the Grout
Once your grout is properly mixed to the right consistency, the next crucial step is the application. This stage requires attention to detail and the right tools to ensure that the grout lines are filled uniformly and completely.
Use a Grout Float
The primary tool for applying grout is a grout float. This tool helps in evenly distributing and pressing the grout into the joints between the tiles. Opt for a rubber grout float, which is flexible enough to press down the grout without damaging the tile surface. A good choice is the QEP Rubber Grout Float, known for its durability and ease of use. Hold the float at a 45-degree angle to the tiles, which maximizes pressure and effectiveness.
Apply Grout Diagonally Across Joints
To avoid pulling grout out of the joints while you spread it, apply the grout diagonally across the joints rather than along them. This technique helps in filling the joints thoroughly without dragging the grout out as the float moves over them. It’s important to spread the grout across all directions of the tile to ensure there are no air pockets or missed spots.
Ensure Complete Filling Without Void Spaces
Take your time to press the grout deeply into the joints to avoid any voids or gaps. A thorough filling is crucial for preventing water penetration and ensuring the longevity of the grout and tile setup. After applying the grout with the grout float, make a few additional passes with the edge of the float to remove excess grout from the surface of the tiles. The goal is to leave the joints flush with the tile surface, filled completely and cleanly.
These steps, when followed with care and the right tools, will ensure that your grouting is successful and yields a professional-looking finish. By using a grout float effectively and applying the grout correctly, you can achieve a durable, sealed surface that complements your tiles beautifully.
5. Setting Time for Grout
After applying the grout, it is crucial to allow it to set properly to achieve optimal hardness and adhesion. This phase is dependent on the type of grout used and must be carefully managed to ensure the grout cures correctly.
Allow Grout to Set Partially
Once the grout is applied, it needs some time to firm up before you can start cleaning the excess off the tile surface. This initial setting period allows the grout to begin curing without being disturbed. The grout should not be too soft; it should resist gentle pressure without sticking to your finger. Allow it to set for about 10 to 20 minutes, but this can vary based on the ambient temperature and humidity levels.
Time Recommendations Based on Grout Type
Different types of grout will have different setting times:
- Cement-based grouts, like Polyblend Sanded Grout, typically require about 24 to 48 hours to cure fully, but initial cleaning can usually begin after a few minutes from application, depending on the temperature and humidity.
- Epoxy grouts, such as LATICRETE SpectraLOCK Pro, cure much faster due to their chemical composition. Epoxy grout generally sets sufficiently for initial cleanup in about 20 to 30 minutes under normal conditions.
Always refer to the manufacturer’s specific instructions for setting times and follow them closely to ensure the best results. Monitoring the grout’s setting process is key to achieving a strong and durable finish. Adjust your times based on the specific product used and environmental conditions at your installation site.
6. Cleaning Excess Grout
After allowing the grout to set partially, the next crucial step is to clean up the excess material from the surface of the tiles. This step ensures that the grout lines are neat and that the tiles themselves are clear of any residue that could mar the finish.
Initial Cleanup with a Damp Sponge
Start the cleanup process using a clean, damp sponge. It’s important to use a sponge specifically designed for grouting like the Hydro Sponge, which is highly absorbent and durable enough to handle the rigors of tile work without falling apart. Gently wipe over the tiles in a light, circular motion to remove the majority of the excess grout. Rinse the sponge frequently in clean water to ensure that grout doesn’t re-deposit onto the tile surfaces, keeping the sponge just damp enough to clean effectively without being so wet that it reactivates the grout in the joints.
Techniques to Avoid Pulling Grout From Joints
To avoid pulling grout out of the joints while cleaning:
- Always swipe the sponge diagonally across the tiles rather than parallel to the grout lines. This reduces the chance of the sponge dipping into the joints and disturbing the fresh grout.
- Apply gentle pressure to avoid digging into the soft grout. The key is to skim the surface to lift off excess grout without pressing so hard that it affects the grout line’s integrity.
- Be mindful of the grout’s setting time; beginning to clean too early can pull grout out of the joints, while waiting too long can make the job much harder as the grout begins to harden.
7. Final Cleaning and Polishing
Once the excess grout has been removed and the grout lines are set, the final cleaning and polishing phase enhances the overall appearance of your tile installation. This stage removes any residual haze and polishes the tiles to a brilliant shine.
Remove Haze with Cheesecloth or a Soft Cloth
After the grout has fully cured, which usually takes about 24 hours, a slight haze may remain on the surface of the tiles. This haze is a thin residue of grout dust that can dull the appearance of the tiles. To remove this, gently wipe the tiles with a cheesecloth or a soft microfiber cloth. Both are gentle on tile surfaces and effective at picking up grout dust without leaving scratches. For persistent grout haze, you might consider using a product like Aqua Mix’s Cement Grout Haze Remover, which is designed to clean off haze without damaging the grout or tiles.
Detailed Polishing Steps
- Start with a Dry Tile Surface: Ensure that your tiles are completely dry before beginning the polishing process.
- Apply a Small Amount of Tile Polish: If desired, apply a small amount of tile polish such as Miracle Sealants Tile and Stone Cleaner to enhance the shine. This should be done sparingly, as a little goes a long way.
- Buff the Tiles: Using a clean, soft cloth or an electric buffer with a soft pad, buff the tiles in a circular motion. This helps to spread the polish evenly and brings out a high shine.
- Inspect and Touch Up: After buffing, inspect the tiles from different angles to check for any missed spots or remaining haze. Touch up these areas as needed with more cheesecloth or a soft cloth until you achieve a uniform shine.
8. Sealing the Grout
After the grout has been properly cleaned and polished, sealing the grout is the final protective step. This process helps to extend the life of the grout, making it resistant to moisture, stains, and mold growth.
Choose the Appropriate Grout Sealer
Selecting the right grout sealer is essential for effective protection. There are two main types of sealers: penetrating sealers and surface sealers. Penetrating sealers absorb into the grout and protect it from within, making them ideal for high-moisture areas like bathrooms and kitchens. A recommended product is Miracle Sealants 511 Impregnator Sealer, which offers a natural finish without altering the appearance of the grout. Surface sealers coat the top of the grout line and provide a barrier against spills and stains. TileLab’s SurfaceGard Sealer is a good option for areas with lighter traffic and less exposure to water.
Application Techniques for Effective Sealing
- Ensure Grout is Completely Dry: Before applying sealer, make sure the grout is thoroughly dry. This may take up to 72 hours after cleaning.
- Apply Sealer Evenly: Use a sealer applicator, a small brush, or a sponge to apply the sealer evenly across all grout lines. Products like the Aqua Mix Sealer’s Choice Gold Applicator provide a convenient way to control the amount of sealer used and prevent over-application.
- Wipe Off Excess: After allowing the sealer to penetrate for the recommended time (usually about 5-10 minutes), wipe off any excess with a clean, lint-free cloth to prevent any residue from drying on the tile surface.
- Allow Adequate Curing Time: Follow the manufacturer’s guidelines for curing, which typically range from 24 to 48 hours. During this time, keep the area dry and avoid any water exposure.
9. Maintenance Tips
To keep your tiled surfaces looking new and extend the life of the grout, regular maintenance is essential. Proper care can prevent stains, mold growth, and deterioration over time.
Regular Cleaning Guidelines
Regular cleaning is crucial to maintaining the appearance and integrity of grout. Use a gentle, pH-neutral cleaner like Aqua Mix Concentrated Stone and Tile Cleaner to clean tiled surfaces without harming the grout. Avoid harsh chemicals and abrasive brushes, which can damage grout. For daily cleaning, a soft cloth or mop and a mild soap solution are sufficient. For deeper cleans, especially in grout lines, a soft brush may be used sparingly to remove dirt and grime.
Schedule for Re-Sealing Grout Joints
Grout joints should be re-sealed periodically to maintain their resistance to moisture and staining. The frequency of re-sealing depends on the area’s usage and exposure to water. In high-traffic or high-moisture areas like bathrooms and kitchens, re-seal the grout annually. In lower-traffic areas, re-sealing every two to three years may be sufficient. Keep track of when you last sealed the grout and schedule future re-sealing to ensure continuous protection. Using a quality sealer like Miracle Sealants 511 Impregnator Sealer each time will help maintain the grout’s condition over time.
By adhering to these maintenance tips and scheduling regular cleaning and re-sealing, you ensure that your grout remains clean, protected, and visually appealing for years to come. This proactive approach minimizes the need for more drastic measures like full re-grouting, keeping your tiled areas in top condition.
FAQs
How long do you leave grout before wiping off?
You should leave grout for about 10 to 20 minutes before beginning to wipe off the excess with a damp sponge. This allows the grout to set slightly, making it easier to clean without pulling grout out of the joints.
What is the best way to apply grout between tiles?
The best way to apply grout is to use a grout float to press the grout firmly into the joints, applying it diagonally across the tiles to avoid pulling it out as you spread it.
What are the biggest grout mistakes?
The biggest grout mistakes include not mixing the grout to the correct consistency, applying grout to wet or improperly cleaned tiles, rushing the curing process, and failing to seal the grout after application.
Do you clean tiles straight after grouting?
You should start cleaning the tiles with a damp sponge shortly after applying the grout (about 10-20 minutes later), once it has set partially to avoid disturbing the grout in the joints.
Does wetting grout make it easier to remove?
Wetting grout can make it easier to remove excess during initial cleanup but should be done cautiously with a slightly damp sponge to avoid reactivating or diluting the grout in the joints.
Is it OK to grout tile the same day?
It is typically okay to grout tile the same day as laying them if the adhesive has set and the tiles are secure. However, always check the adhesive manufacturer’s recommendations.
How long does grout take to dry?
Grout typically takes about 24 to 48 hours to dry completely, but this can vary based on humidity, temperature, and the type of grout used.
Can you apply grout twice?
You can apply a second layer of grout if the first application was insufficient or if there are voids, but it is best to remove any loose or poorly adhered grout before reapplying.
What happens if you wait too long to wipe grout?
If you wait too long to wipe grout, it can start to harden on the tile surface, making it much more difficult to clean off and potentially leaving a haze that is hard to remove.
Should you wet tile before grouting?
You should not wet tiles before grouting as this can prevent the grout from adhering properly and can weaken the grout structure once it dries.
How to remove old grout?
To remove old grout, use a grout removal tool or an oscillating tool with a grout removal blade. Carefully grind away the old grout without damaging the tiles, and vacuum up the debris as you work.
Products Use for Tile Grout
